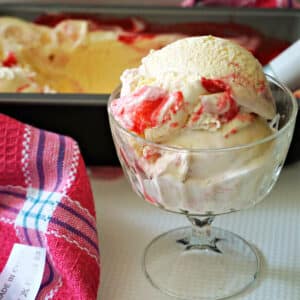
Clotted Cream and Raspberry Ripple Ice Cream, a delicious homemade ice cream recipe that is rich, super creamy and indulgent. Made in an ice cream maker for a creamier texture, this ice cream is a classic British summer treat for all ages.
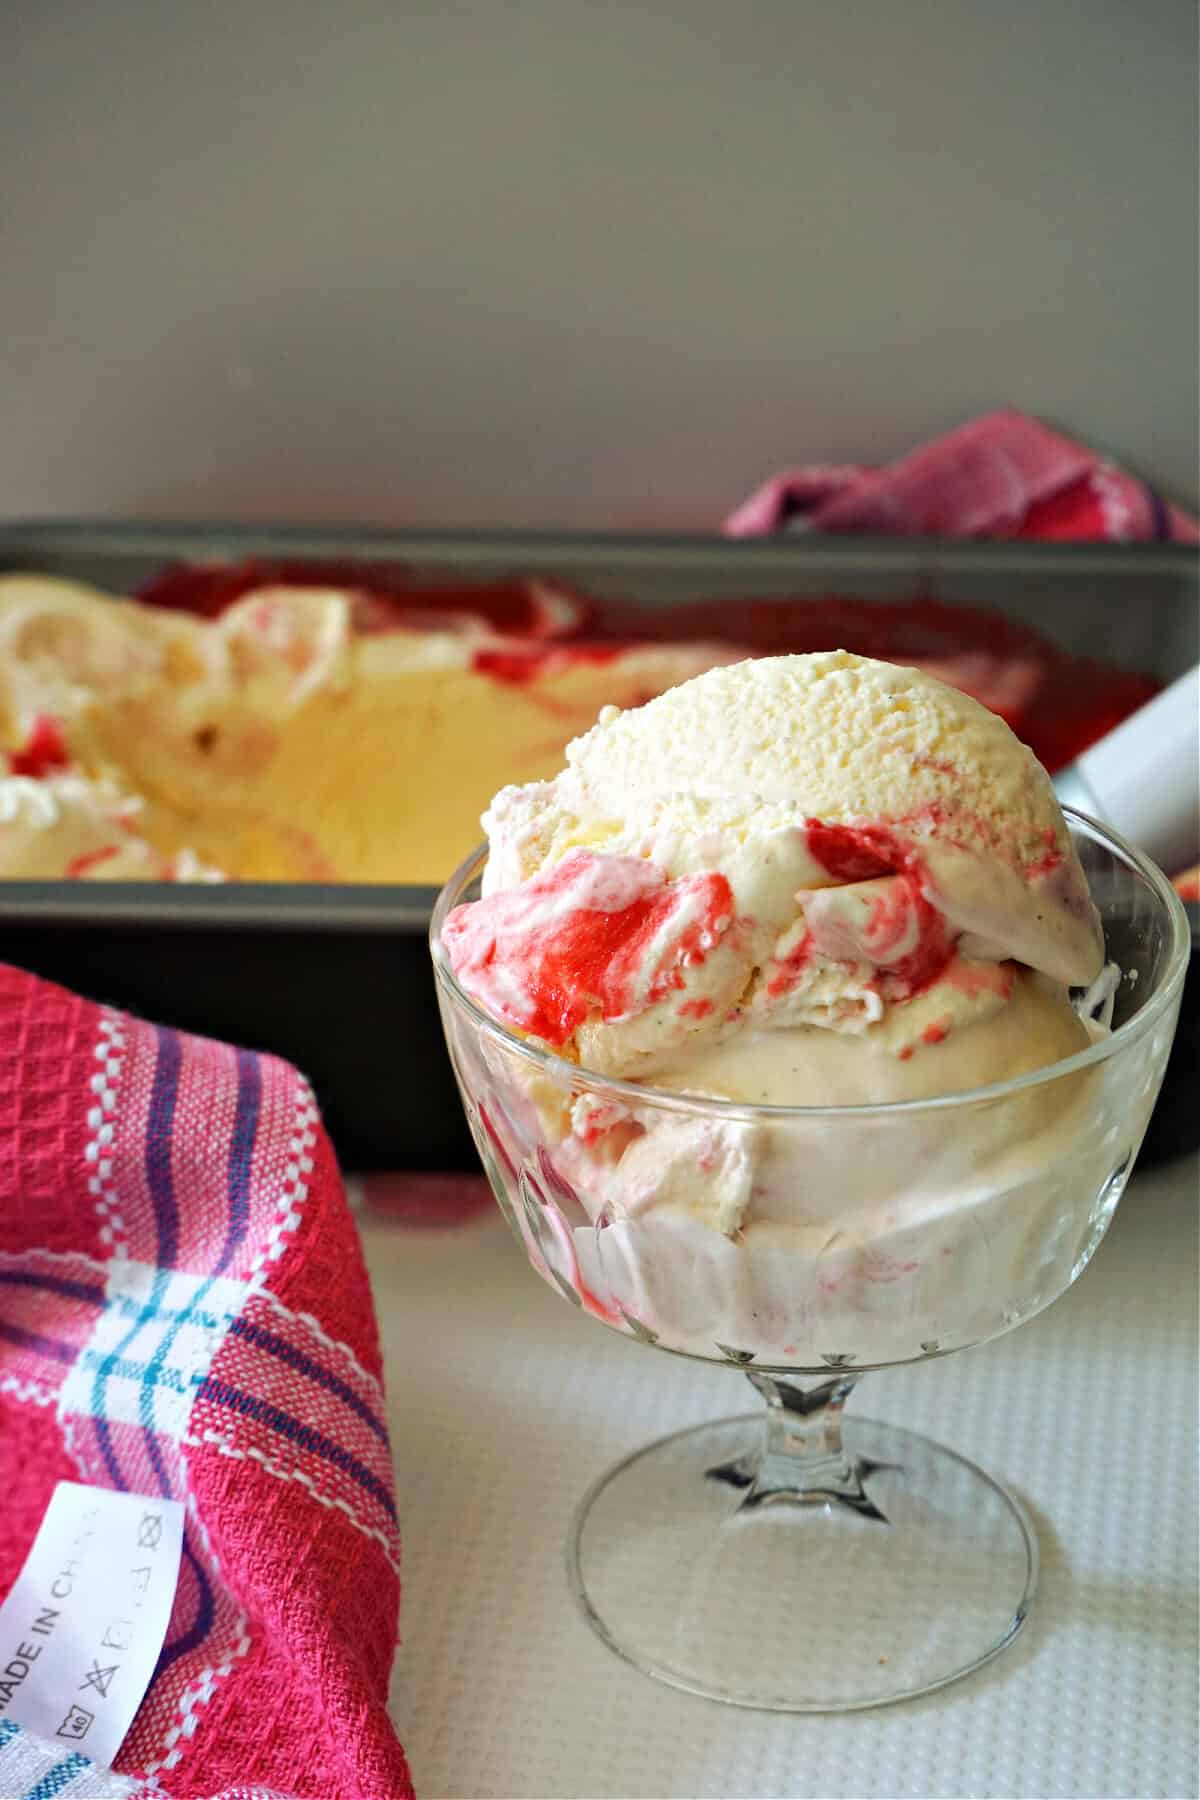
Raspberry ripple is a very popular flavour of ice cream that has a creamy indulgent vanilla base swirled with slightly tart raspberry sauce. It's such a classic combo in the UK, and definitely one of my favourite ice creams.
Now, add clotted cream to the mix, and you have created the dream team. Clotted cream is quintessentially British, being the star of any good cream tea. It comes from Devon and Cornwall, where it's made by heating full-fat cow's milk until clots of milk come to the surface.
The result is a lovely thick cream that is commonly eaten with scones to create the famous cream tea for a British afternoon tea. It just can't get any better than that!
My ice cream is churned to get that scrumptious creaminess that is essential if you want a good ice cream , but you can also make it without an ice cream maker, it's base being my homemade vanilla ice cream, where the double cream has been replaced with clotted cream and has added raspberry sauce .
Jump to:
Ingredients used
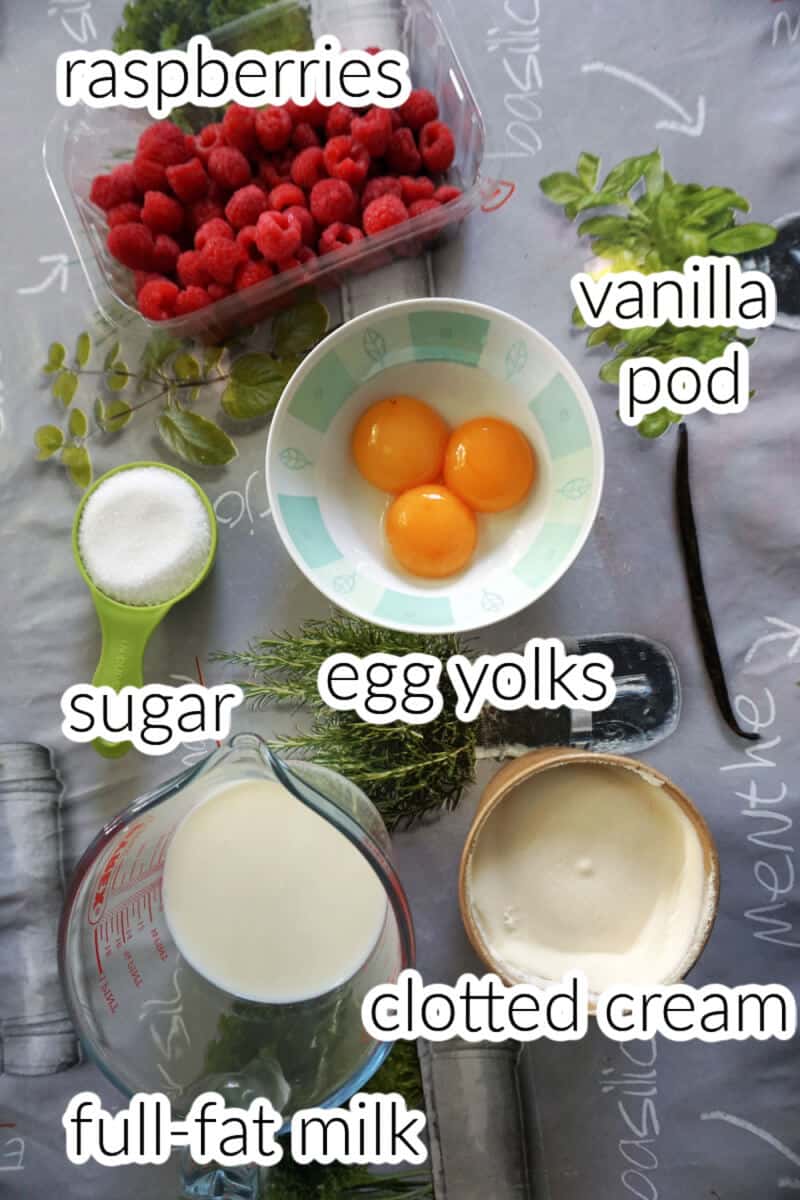
- full-fat milk - an essential ingredient for a creamy texture, as the semi-skimmed or skimmed milk have a higher water content which results in an ice cream with a more icy texture
- clotted cream - could be substituted with heavy cream/double cream if you don't have any
- egg yolks - not whole eggs
- sugar - either caster sugar or granulated
- vanilla pod - or vanilla extract if you don't have a pod
- fresh raspberries - or frozen raspberries, which will take slightly longer to reduce into a sauce
Step-by-step photos and instructions
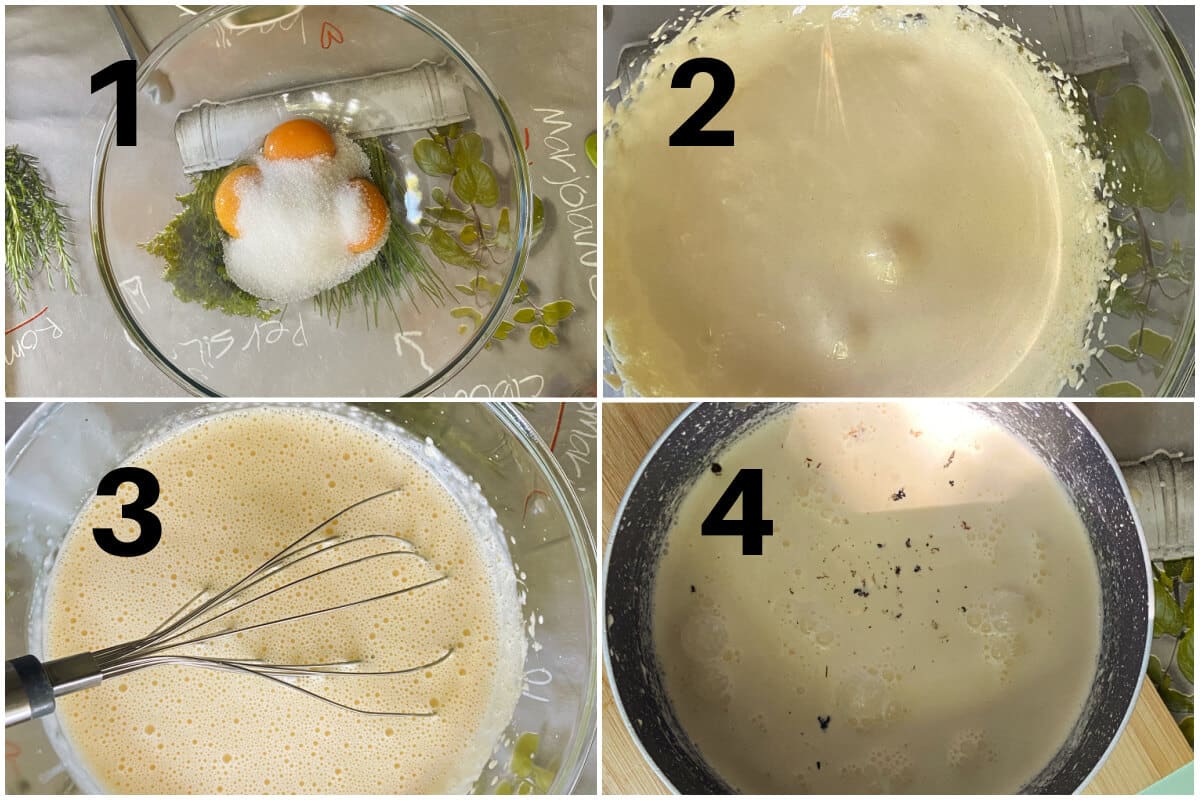
- to make the vanilla base, add the egg yolks to a mixing bowl together with the sugar
- use a hand mixer to beat them well until they triple their volume and have a pale yellow colour
- in a pan, mix together the milk, cream and vanilla pod, which is split in half with a sharp knife to scrape the seeds inside
- heat the mixture up on a medium heat, but do not bring to the boil
- pour the heated milk mixture over the egg mixture, whisking well to prevent the eggs from cooking
- return the pan to the heat, and continue to mix until the mixture is thicker and coats the back of a spoon
- remove it from the heat and leave it to cool down completely, then refrigerate for at least 1-2 hours
Would you like to save this?
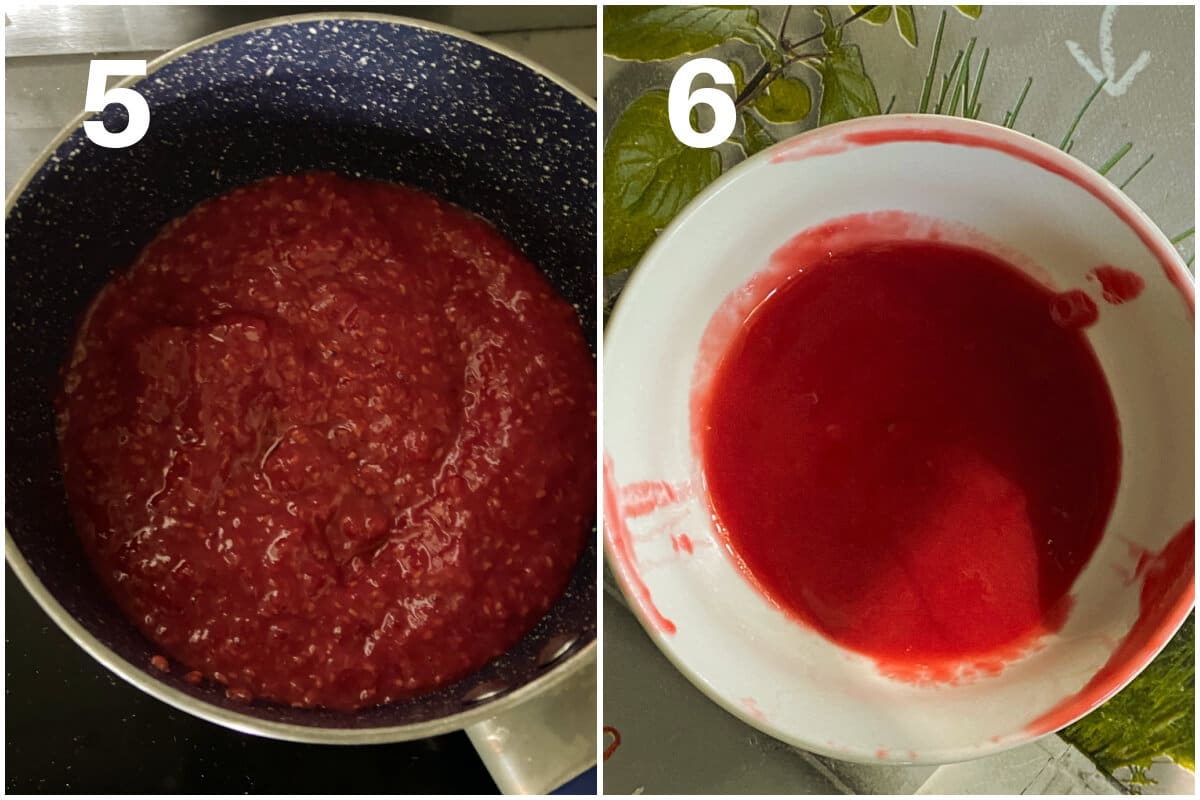
- to make the raspberry sauce, add the raspberries to a blender, and blitz
- add the mixture to a pan set over a medium heat, and leave it to simmer for 5 minutes or until the mixture is reduced by half
- pass the mixture through a sieve to remove any seeds, then leave it to cool down completely
- once the ice cream mixture has chilled, add it to the ice cream maker, following the manufacturer's instructions
- I churned mine for 20 minutes until it has a soft-serve texture
- add the churned ice cream to a freezer-friendly container, and add the raspberry sauce using a teaspoon to swirl it around
- freeze for at least 3-4 hours until solid enough to scoop

Expert tips
Ice cream makers can differ greatly, but with the one I use I get the best results when I freeze the ice cream maker bowl for at least 24 hours before using it. The longer, the better results.
Also, make sure the ice cream mixture is chilled before adding it to churn, as if it's warm enough, it will not be churned well.
If you make the ice cream without an ice cream maker, simply transfer it to a freezer-friendly container, and take it out of the freezer every 1-2 hour to stir it, which helps avoid ice particles in the ice cream.
Other ice cream recipes made with milk and eggs

If you’ve liked this recipe or any other recipe on the blog then don’t forget to rate the recipe and let me know how you got on in the comments below, I love hearing from you! You can also FOLLOW ME on FACEBOOK, INSTAGRAM , YOUTUBE, TIK TOK , FLIPBOARD and PINTEREST to see more delicious food and what I’m getting up to.
Clotted Cream and Raspberry Ripple Ice Cream
Ingredients
- 250 ml full-fat milk
- 350 g clotted cream
- 250 g fresh raspberries
- 3 egg yolks
- 50 g caster sugar
- 1 vanilla pod
Would you like to save this?
Instructions
- To make the vanilla custard base, add the egg yolks and sugar to a mixing bowl, and use a hand mixer to beat them well until they triple their volume and have a pale yellow colour.
- In a pan set over a medium heat, add the milk and clotted cream, and use a sharp knife to split the vanilla pod so you can scrape the seeds off - I also leave the pod in the pan until the mixture heats up to release more flavour.
- Remove the warm mixture before it starts to boil, we need it warm not hot - remove the vanilla pod at this stage.
- Pour it over the egg mixture, whisking well to prevent the eggs from scrambling.
- Return the pan to the heat, and simmer it until it thickens and coats the back of a spoon.
- Leave the mixture to cool down completely, then refrigerate it for 1-2 hours.
- To make the raspberry sauce, add the raspberries to a blender, and blitz well.
- Add the mixture to a pan and leave it to simmer for 5 minutes or until it reduces into a thicker sauce.
- Pass the sauce through a sieve to remove the seeds, then leave it to cool down completely.
- Churn the ice cream according to the manufacturer's instructions.
- Transfer the ice cream to a freezer-friendly container, add the raspberry sauce, and use a teaspoon to swirl the sauce around and blend it with the ice cream.
- Freeze for 3-4 hours until solid enough to scoop.
Video
Notes
- Ice cream maker can differ greatly, but with the one I use I get the best results when I freeze the ice cream maker bowl for at least 24 hours before using it. The longer, the better results.
- Also, make sure the ice cream mixture is chilled before adding it to churn, as if it's warm enough, it will not be churned well.
- If you make the ice cream without an ice cream maker, simply transfer it to a freezer-friendly container, and take it out of the freezer every 1-2 hour to stir it, which helps avoid ice particles in the ice cream.


Leave a Reply