
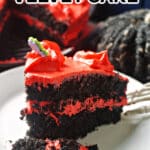
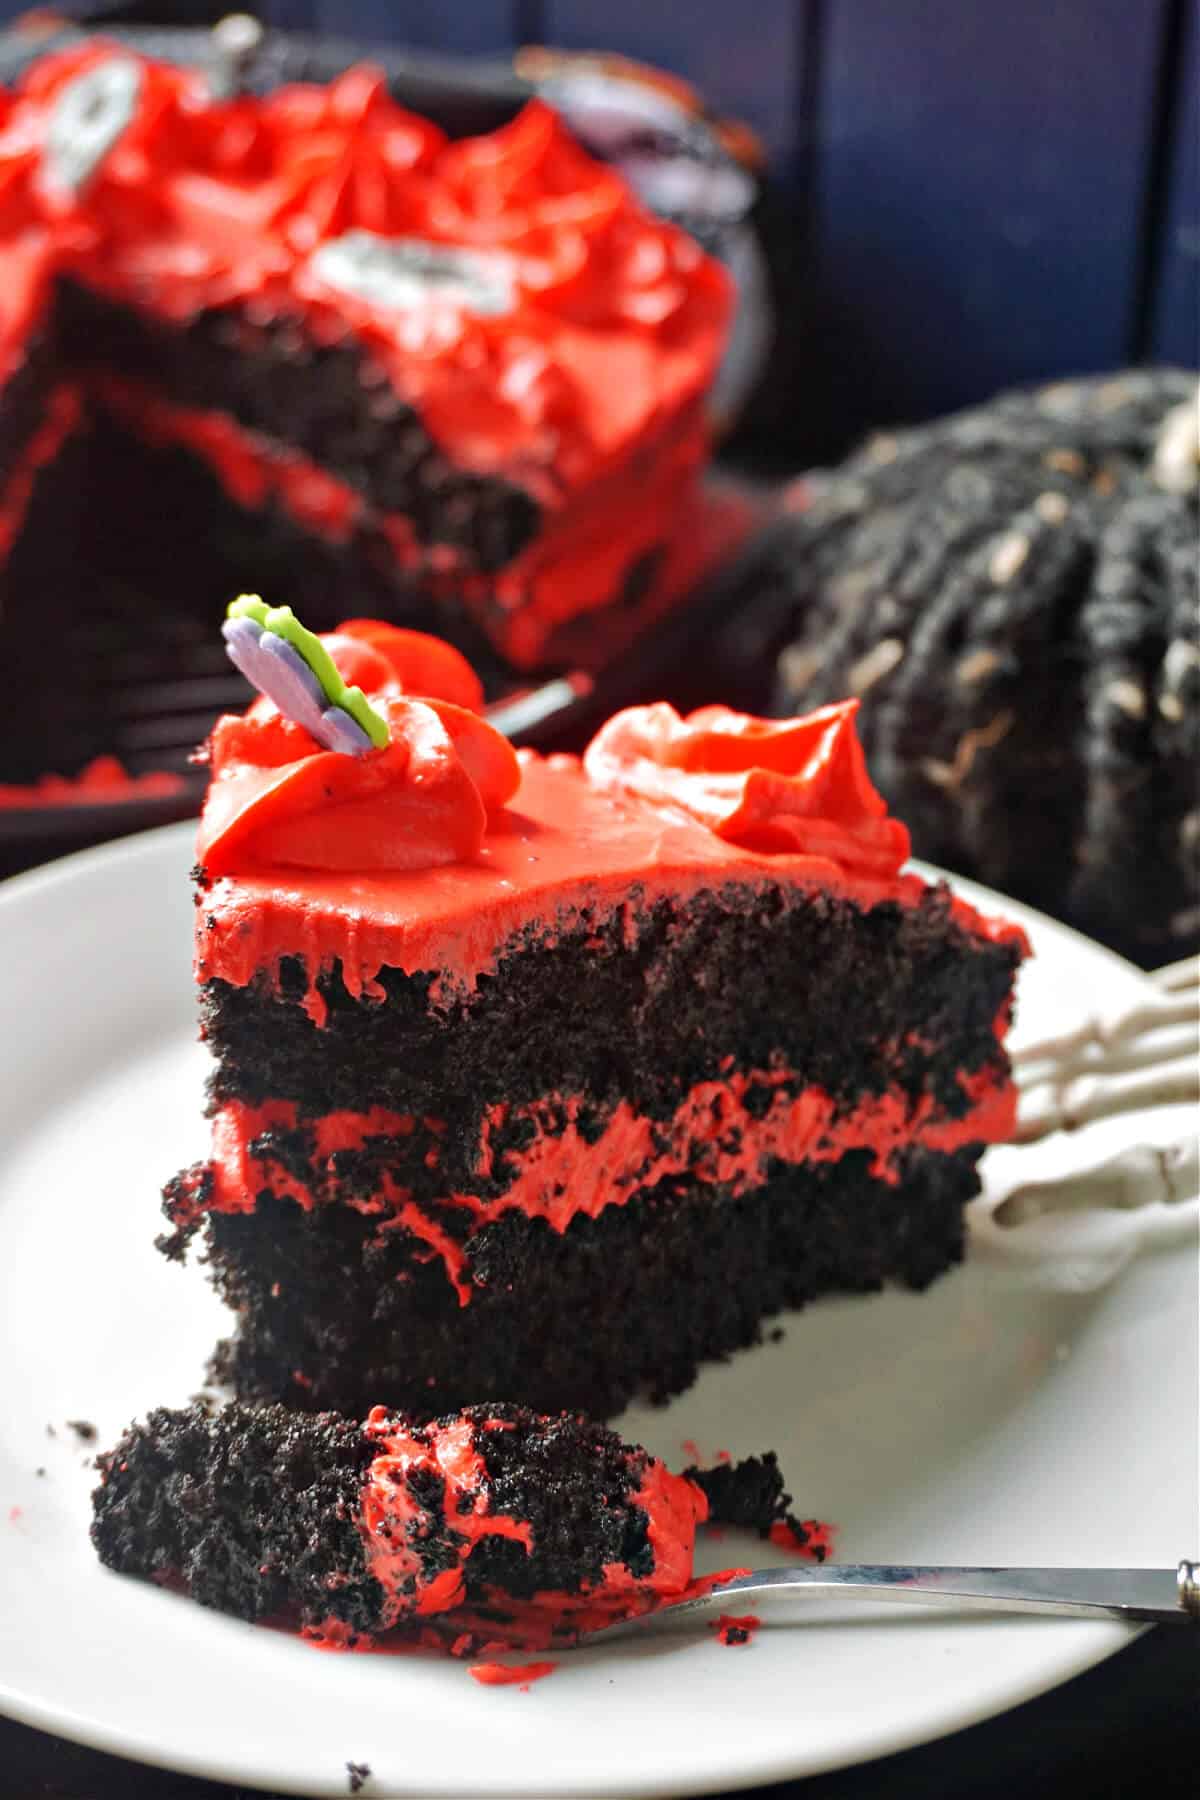
Black Velvet Cake with Red Vanilla Cream Cheese Icing, beautifully moist and decadent, a deliciously layered Halloween dessert. The intense black sponge is achieved by using black cocoa powder, which has a distinctive deep flavour, while the cream cheese icing is bright red and so spooky. Super easy to make, what a Halloween treat!
I am a big fan of black cocoa powder, it's the perfect ingredient to use for any Halloween goodie. When I had a bite of this cake, I couldn't quite say what the taste reminded me of, until I realised that it actually tasted like an oreo biscuit. Especially with this combo black velvet sponge and vanilla buttercream.
It's a different kind of depth when it comes to flavour if you are to compare it to regular cocoa powder, perhaps not as chocolaty, but definitely richer. But surprisingly, it's not bitter, just stronger. Which means that it works perfectly well for a Halloween baked goodie.
I have never come across black cocoa powder in a regular supermarket, although I must say I never looked for it specifically, so perhaps health and wellbeing stores are a better place for it, or just online.
So if you struggle to find this product, and still want to make a black velvet cake, I would use regular cocoa powder and black food colouring. It will taste more chocolaty, but you should get a close shade of this black.
Jump to:
Note!
Go to the recipe card at the bottom of the post for exact quantities and detailed instructions!
Ingredients overview
For the sponge

- plain flour - there is no need for self-raising flour, however, if that's the only one you have around, you can definitely use it too
- black cocoa powder - intensely black and rich
- bicarbonate of soda - not baking powder!
- granulated sugar - or caster sugar
- vegetable oil - or another odourless oil
- buttermilk - works wonderfully well with the bicarb of soda to make the sponges rise well
- vinegar
- eggs - make sure they are at room temperature
- vanilla extract - or any other extract of your choice
For the buttercream
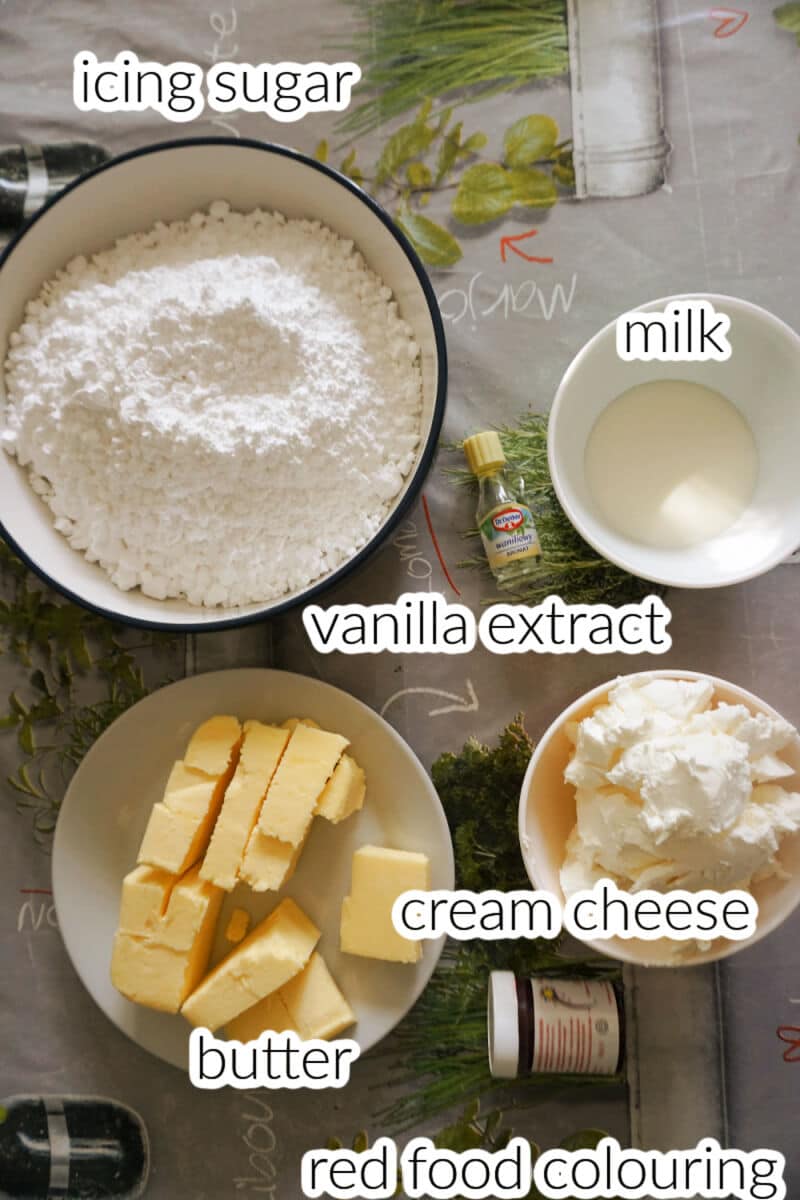
- icing sugar - confectioners' sugar, well sifted to avoid lumps in the buttercream
- butter - soften, but not melted
- cream cheese
- vanilla extract - or any other extract of your choice
- red food colouring - I used paste as it's a lot more intense than the liquid colouring
Easy swaps
If you want to make a red velvet cake, swap the black cocoa powder for regular cocoa powder and add red food colouring - and voila! a red velvet cake - all the other ingredients stay the same.
The frosting doesn't have to be red, you can use food colouring to create any other colour - orange, purple, white or black would be some fantastic Halloween-related colours, so it's up to you.

Step-by-step photos and instructions
The sponge
Make the sponges first as they need to cool down completely before being covered with buttercream - a warm cake will create so much mess if it's iced too soon. For this recipe I used 2 round cake tins with detachable walls and the diameter of 19cm/7.5 inches.
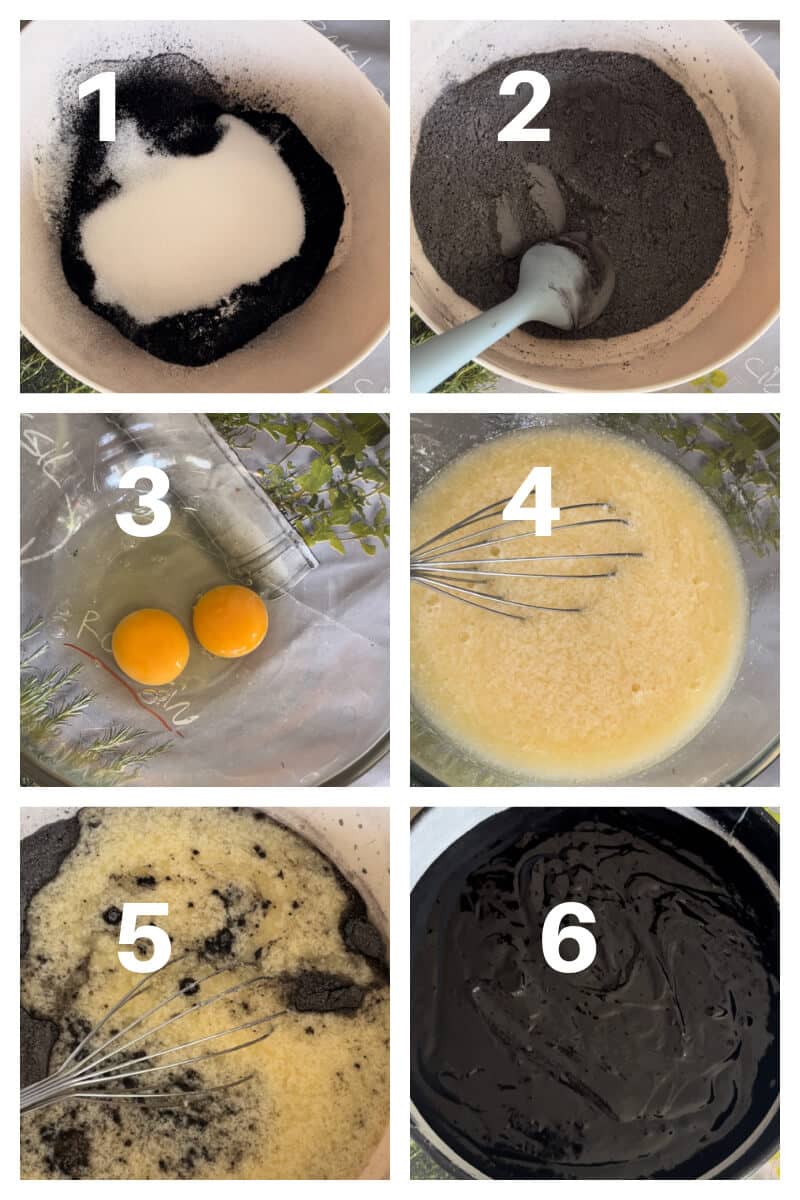
- in a large bowl, sift the flour and black cocoa powder, add the sugar and baking soda and mix well - the dry mixture will have a grey colour at this stage
- in a separate bowl, combine the vegetable oil, buttermilk, eggs, vanilla extract and vinegar
- combine the wet ingredients with the dry ingredients and use a spatula to get a smooth mixture - it has a dark black colour now, that pretty much resembles mud
- divide the mixture evenly between 2 cake tins that had been greased and floured
- bake in the preheated oven at 180 degrees Celsius (350 Fahrenheit) for 35 minutes or until a toothpick inserted in the middle of the sponges comes out clean
- remove from the oven, and leave to cool completely
The cream cheese vanilla buttercream frosting
The good old vanilla flavour! It's a classic, and I happen to absolutely love it - I use it in pretty much any baked goodie, the better the quality, the deeper the flavour.
- sift the icing sugar, and the soft butter, milk, red food colouring and vanilla extract, and either use a hand mixer or a food processor to mix it to a smooth consistency
- add the cream cheese and mix again
- once the sponges have cooled down completely, spread a thicker layer of frosting over the first sponge, top with the second sponge, and spread more cream over the top and sides of the cake
- you can decorate it the way you like it, or just leave it plain

Expert tips
This beautiful cake doesn't need to be refrigerated, it lasts very well at room temperature for at least 4-5 days - it keeps its moisture well and it doesn't dry out at all.
When refrigerated, the icing becomes too hard, and the sponge hardens up and becomes crumbly - and while it's still edible, that's not the best texture.
Make sure the cream cheese isn't too watery, that's why the full-fat one is the best. Too watery cream cheese might result in a split buttercream which is pretty hard to salvage.
You can also decorate the cake to make it as spooky as you wish, if you are going to serve it for Halloween. The white cream cheese frosting can be turned black if you add black cocoa powder to it too, instead of red food colouring.
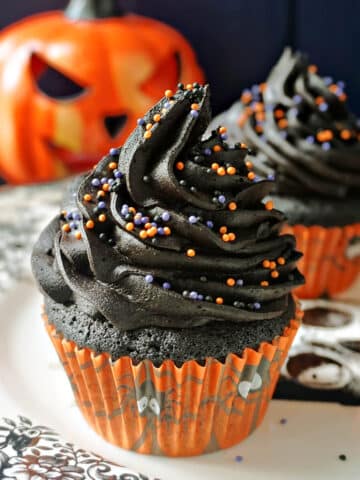
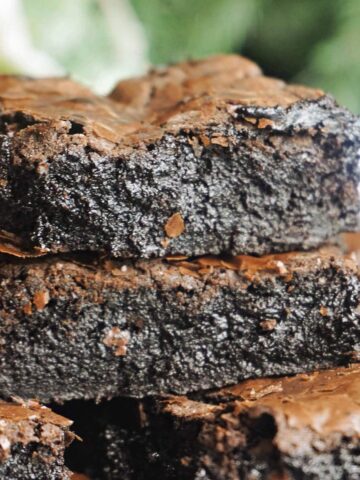
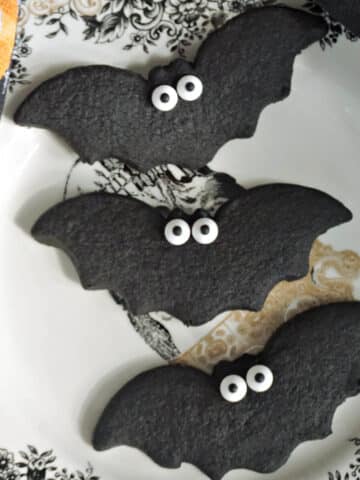
Oher desserts that use black cocoa powder


If you’ve tried my BLACK VELVET CAKE or any other recipe on the blog then don’t forget to rate the recipe and let me know how you got on in the comments below, I love hearing from you! You can also FOLLOW ME on FACEBOOK, and PINTEREST to see more delicious food and what I’m getting up to.

Black Velvet Cake
Ingredients
For the sponge
- 250 g plain flour (2 cups)
- 60 g black cocoa powder (2 oz)
- 1 teaspoon bicarbonate of soda
- 250 g granulated sugar (1 cup)
- 300 ml vegetable oil (1 ½ cup)
- 250 ml buttermilk (1 cup)
- 1 tablespoon vinegar
- 2 eggs
- 2 teaspoon vanilla extract
For the frosting
- 500 g icing sugar (confectioners' sugar, 4 cups)
- 250 g butter, soften (1 cup)
- 4 tablespoon milk
- 2 teaspoon vanilla extract
- 250 g cream cheese (1 cup)
- 1 teaspoon red food colouring (paste)
Would you like to save this?
Instructions
- To make the sponges, sift the flour and black cocoa powder in a large bowl, add the bicarb of soda and sugar, and mix well.
- In a separate bowl, combine the oil, buttermilk, eggs, vinegar and vanilla extract.
- Mix the wet ingredients with the dry ingredients using a spatula, until you get a smooth batter.
- Butter and flour 2 cake tins with the diameter of 19 cm/ 7.5 inches - mine have detachable walls and removable bottom which helps a lot.
- Divide the mixture evenly between the 2 tins and bake in the preheated oven at 180 degrees Celsius (350 Fahrenheit) for 35 minutes or until a skewer inserted in the middle comes out clean.
- Remove from the oven and leave to cool completely.
- To make the frosting, sift the icing sugar and add it to a food processor together with the soft butter, food colouring, vanilla extract and milk.
- Mix until you get a smooth paste, then add the cream cheese and mix again.
- When the sponges are cool, spread cream over one sponge, top with the second sponge, and spread more cream on the top and sides.
- Decorate with more icing or Halloween decorations.
Video
Notes
- To see the measurements in cups and ounces, please click on the US CUSTOMARY link.
- The amount of ingredients listed can be adjusted depending on the number of servings you need, just click on the number next to SERVINGS.
- This beautiful cake doesn't need to be refrigerated, it lasts very well at room temperature for at least 4-5 days - it keeps its moisture well and it doesn't dry out at all.
- When refrigerated, the icing becomes too hard, and the sponge hardens up and becomes crumbly - and while it's still edible, that's not the best texture.
- Make sure the cream cheese isn't too watery, that's why the full-fat one is the best. Too watery cream cheese might result in a split buttercream which is pretty hard to salvage.
- You can also decorate the cake to make it as spooky as you wish, if you are going to serve it for Halloween. The white cream cheese frosting can be turned black if you add black cocoa powder to it too.
Jayne says
Hi Daniela can you tell me the black cocoa that you use please.
Thank you
Daniela Apostol says
Hi Jayne! You can use any black cocoa powder you can find, I don't use a specific brand, it should be easy to purchase online.