

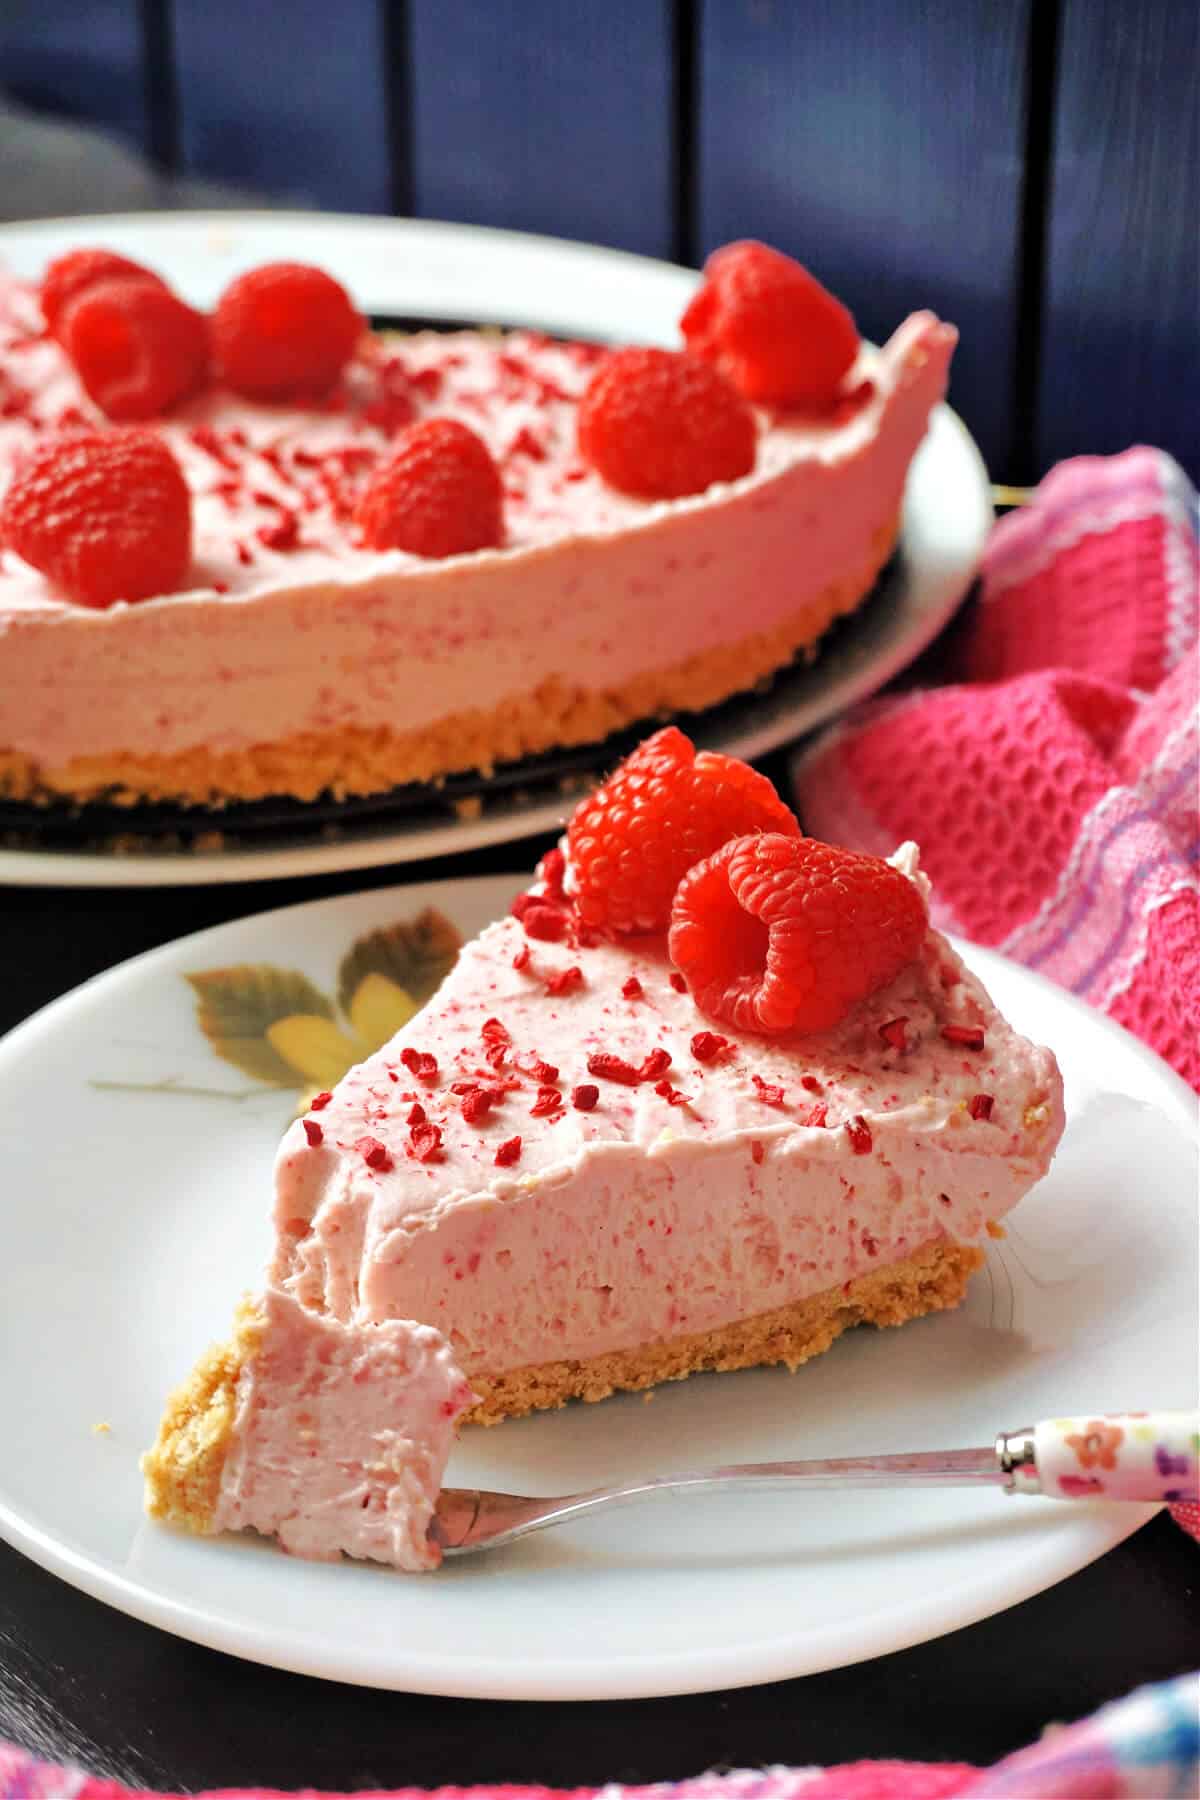
Raspberry White Chocolate Cheesecake, a refreshing no-bake dessert that tastes like sunny days. The filling is rich and indulgent, with a delicious creamy texture , while the crust contrasts nicely with the smoothness of the filling. It's a failproof recipe that even complete beginners will absolutely nail it, and it's a big favourite with everyone in the family.
Cheesecake has to be one of the most popular no-bake desserts one can come up with. There are endless possibilies when it comes to the filling, you can go as simple or as complex as you wish.
The crust is usually fairy simple, with a basic mixture of biscuit/cracker and melted butter that makes for a lovely base. It'a also a nice change of texture from the creaminess of the filling.
While you could use fresh raspberries for the filling too, not just for decorating, using freeze-dried raspberries is a no-brainer for me - you don't need to worry about the raspberries being just the right texture and sweetness, or about the mess you can make in the kitchen.
I used freeze-dried raspberries in other no-bake desserts like Raspberry Bounty Bars, Raspberry White Covered Chocolate Pretzel Sticks and Raspberry White Chocolate Truffles and I knew for sure they are an incredibly delicious ingredient to use.
You can turn this into a completely different dessert by using any other freeze dried fruit, like strawberries or blueberries, my mini strawberry cheesecakes using freeze dried strawberries and are incredibly delicious.
It might look like a long and complicated process, but it's super easy and fairly quick too, what takes the longest is waiting for it to chill - but it's way worth the wait!
Or, you can enjoy the filling as a cheesecake dip, my Vanilla Cheesecake Dip is as delicious, but minus the base and no chilling required.
Jump to:
Note!
Go to the recipe card at the bottom of the post for exact quantities and detailed instructions!
Ingredients overview

- plain biscuits - I used rich tea biscuits, but you can also use digestive biscuits, which are the more popular biscuits for cheesecakes, or any other plain biscuits. For my US audience, you can use Graham crackers for the base
- cream cheese - I used Philadelphia cream cheese, but you can also use an "own brand" cream cheese, as long as it's full fat, which has a lower water content than the low fat version
- white chocolate chips - or a white chocolate bar
- melted butter - the binding agent for the base
- double cream - you can also use whipping cream or heavy cream for the US audience
- freeze-dried raspberries - used in the filling they add a lovely pink colour and a delicious raspberry flavour
- fresh raspberries - I used them for decorating the cheesecake
- icing sugar - or confectioners' sugar, I prefer it over granulated sugar in cheesecakes, as it helps with the smooth texture
Step-by-step photos and instructions to make the crust
- add the biscuits to a blender and blitz until you get a breadcrumb-like texture
- add the melted butter and blitz again for a few seconds to combine ( see photo 3)
- transfer the biscuit mixture to a round tin and press it down really well for a packed base ( see photo 4)

- to make the filling, add the double cream to a large mixing bowl, and use a hand mixer to beat it well until it holds stiff peaks ( see photo 6)
- add the cream cheese to the cream, and beat again to incorporate
- sift in the icing sugar and beat again briefly

- blend the freeze-dried raspberries to a powder, then sift it into the mixing bowl
- add the melted white chocolate and mix well to incorporate ( see photo 11)
- top the biscuit base with the cream cheese filling, and decorate with freeze-dried raspberry pieces and fresh raspberries
- refrigerate for at least 2 hours before serving

Expert tips
Using a round tin cake with detachable walls helps massively with removing the cheesecake from the tin - if you go for a larger tin, you will get a bigger cheesecake in diameter, if you choose a smaller tin, you will get a taller cheesecake in height.
Either way, just use whatever you have available, the most common cheesecake tin has a diameter of 23 cm / 9 inches. You can also double up the ingredients used if you want a large cheesecake with good height.
If you don't have a blender, you can also make the crust by adding the biscuits to a ziplock bag and using a rolling pin to crush them to crumbs - either way works.
The longer you leave the cheesecake to set, the easier it is to remove it from the tin, if you use a tin with detachable walls, place the tin on top of a can, and pull the sides of the tin down.
I like using non-stick paper for the base, so once you remove the cheesecake from the tin, you can gently slip it onto a serving plate - without it the cheesecake will be stuck to the tin base.
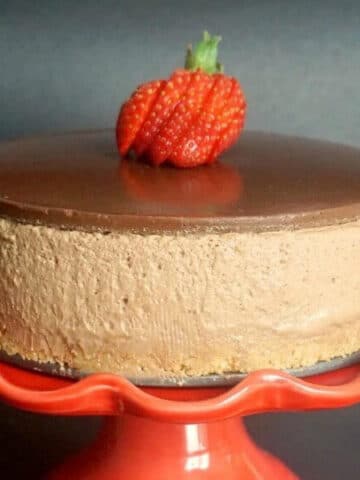
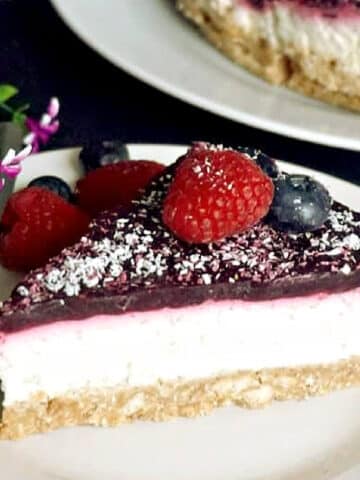
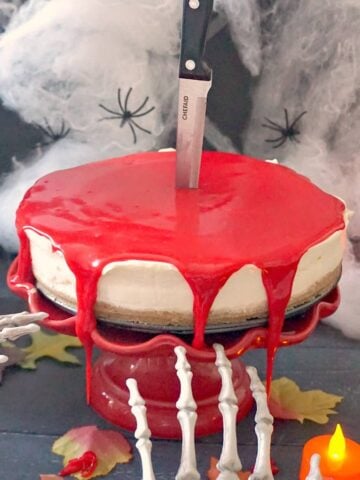
Other cheesecake recipes


If you’ve liked this recipe or any other recipe on the blog then don’t forget to rate the recipe and let me know how you got on in the comments below, I love hearing from you! You can also FOLLOW ME on FACEBOOK, INSTAGRAM , YOUTUBE, TIK TOK , FLIPBOARD and PINTEREST to see more delicious food and what I’m getting up to.

Raspberry White Chocolate Cheesecake
Ingredients
- 200 g plain biscuits ( Graham crackers, 2 cups or 7 oz)
- 100 g melted butter ( 7 tablespoon or 3.5 oz)
- 300 ml double cream ( heavy cream, 10 fl oz)
- 400 g Philadelphia cream cheese (1 ¾ cups or 14 oz)
- 100 g icing sugar ( confectioners' sugar, ¾ cup or 3.5 oz)
- 125 g white chocolate chips, melted (¾ cup or 4.4 oz)
- 50 g freeze-dried raspberries (2 oz)
- a few fresh raspberries to decorate
Would you like to save this?
Instructions
- To make the crust, add the biscuits to a blender and blitz until you get crumbs.
- Add the melted butter and blitz again briefly.
- Line the bottom of a cake tin with detachable walls ( 23 cm / 9 inches in diameter) with non-stick paper, and transfer the biscuit mixture into it.
- Use a spoon to press the mixture down really well to create an even layer.
- Refrigerate it until the filling is ready.
- To make the filling, pour the double cream into a large mixing bowl, and use a hand mixer to beat it until it holds stiff peaks.
- Add the cream cheese and beat again to incorporate.
- Sift in the icing sugar and beat again.
- Add the freeze-dried raspberry pieces to a blender and blitz into a powder.
- Sift the raspberry powder into the bowl, and add the melted chocolate.
- Beat well to get a smooth texture.
- Top the biscuit base with the cream cheese filling, and refrigerate for at least 2 hours, ideally overnight.
- To remove the cheesecake from the tin, place the tin on top of a can, and pull the sides of the tin down.
- Slide the cheesecake onto a serving plate and remove the non-stick paper.
- Enjoy!
Video
Notes
- If you don't have a blender, you can also make the crust by adding the biscuits to a ziplock bag and using a rolling pin to crush them to crumbs - either way works.
- The longer you leave the cheesecake to set, the easier it is to remove it from the tin, if you use a tin with detachable walls, place the tin on top of a can, and pull the sides of the tin down.
- I like using non-stick paper for the base, so once you remove the cheesecake from the tin, you can gently slip it onto a serving plate - without it the cheesecake will be stuck to the tin base.
Leave a Reply