Old-Fashioned Gooseberry Jam made with only 3 ingredients: gooseberries, sugar and water, a super easy homemade jam recipe that is pretty much failproof. It's made with fresh gooseberries that are at their best in the summer months, it's nicely tart and delicious, and perfect on toast or in any baked goodies.
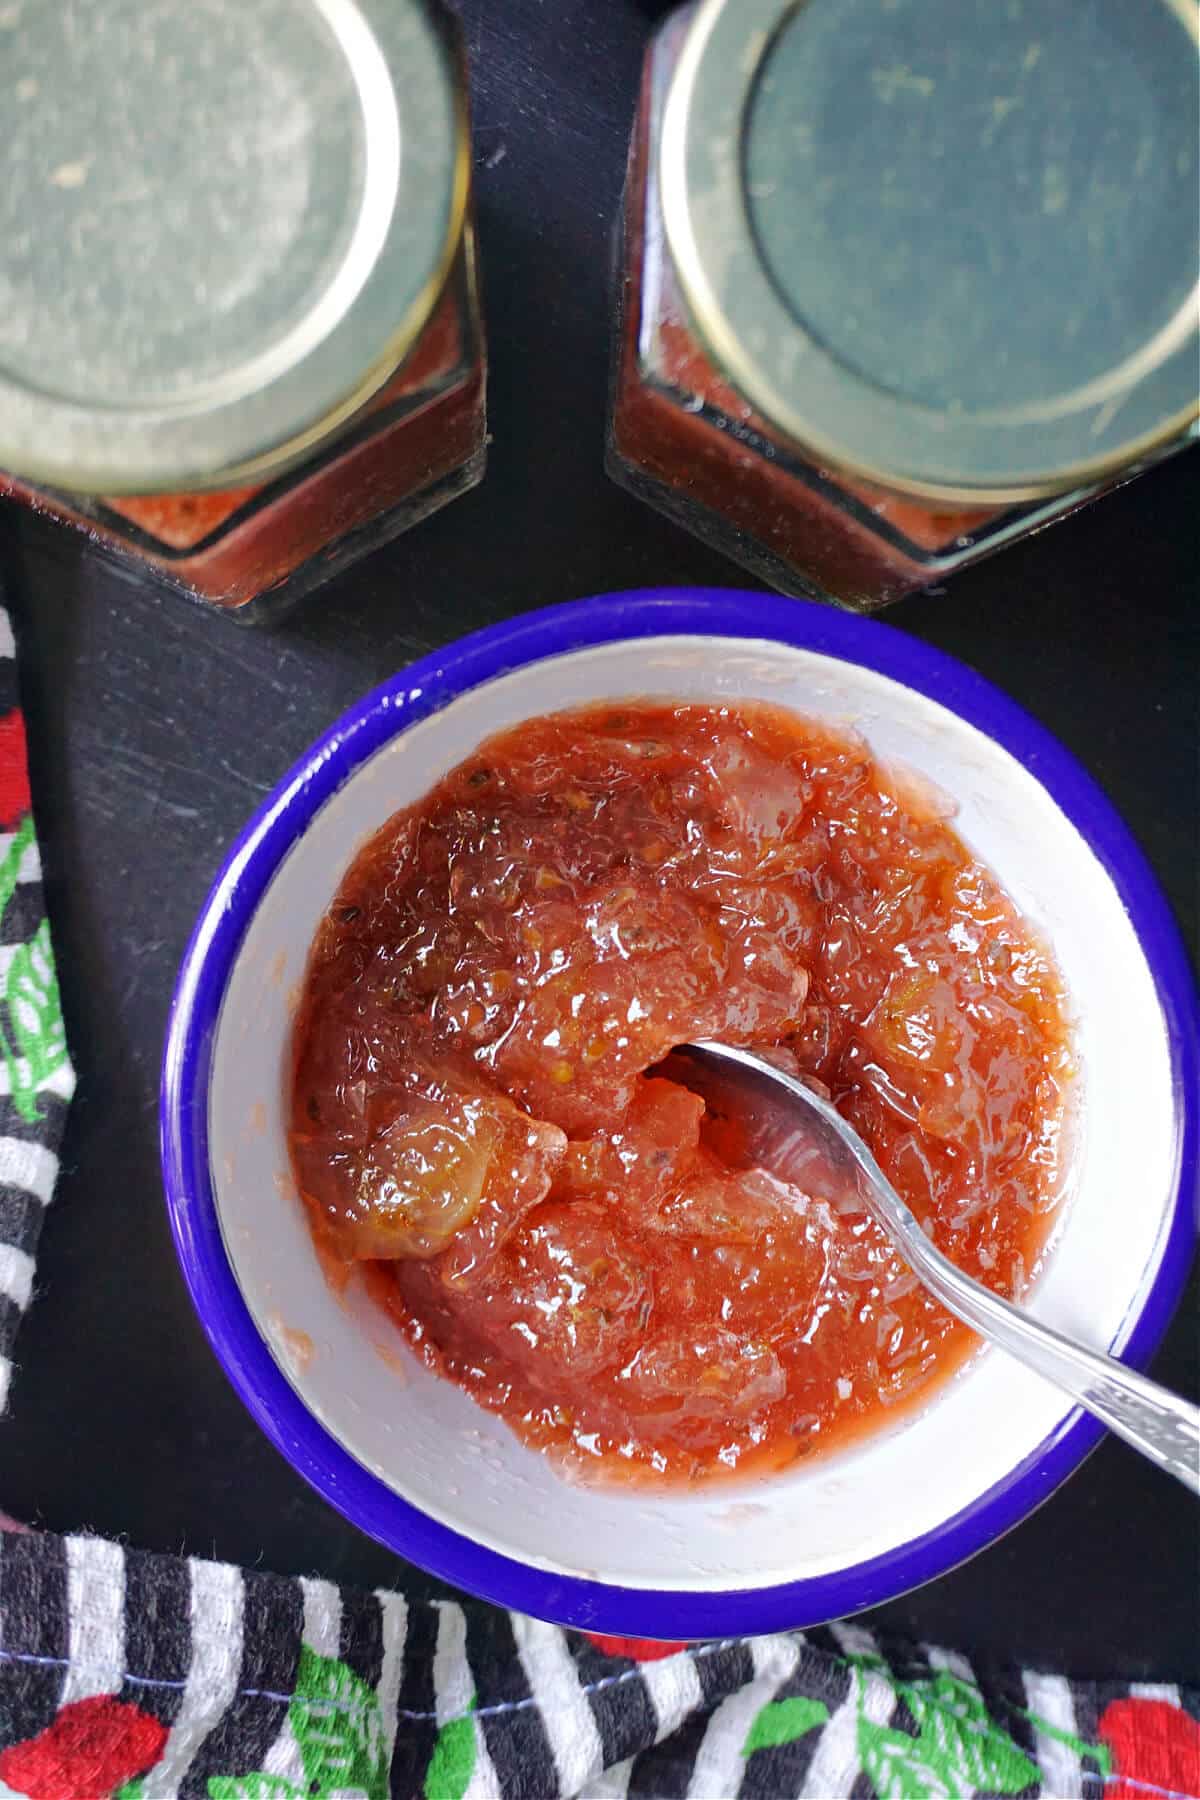
If you are new to jam making, this is a super easy recipe for you, as gooseberries are very high in pectin, so they are guaranteed to set nicely without using jam sugar, but just the regular sugar you already have in your cupboard.
They are also acidic enough that we don't need to add any lemon juice to the jam, so you are really good to go with just fruit and sugar. We need to add a bit of water to the pan, so the sugar doesn't crystallise before the gooseberries release their juice.
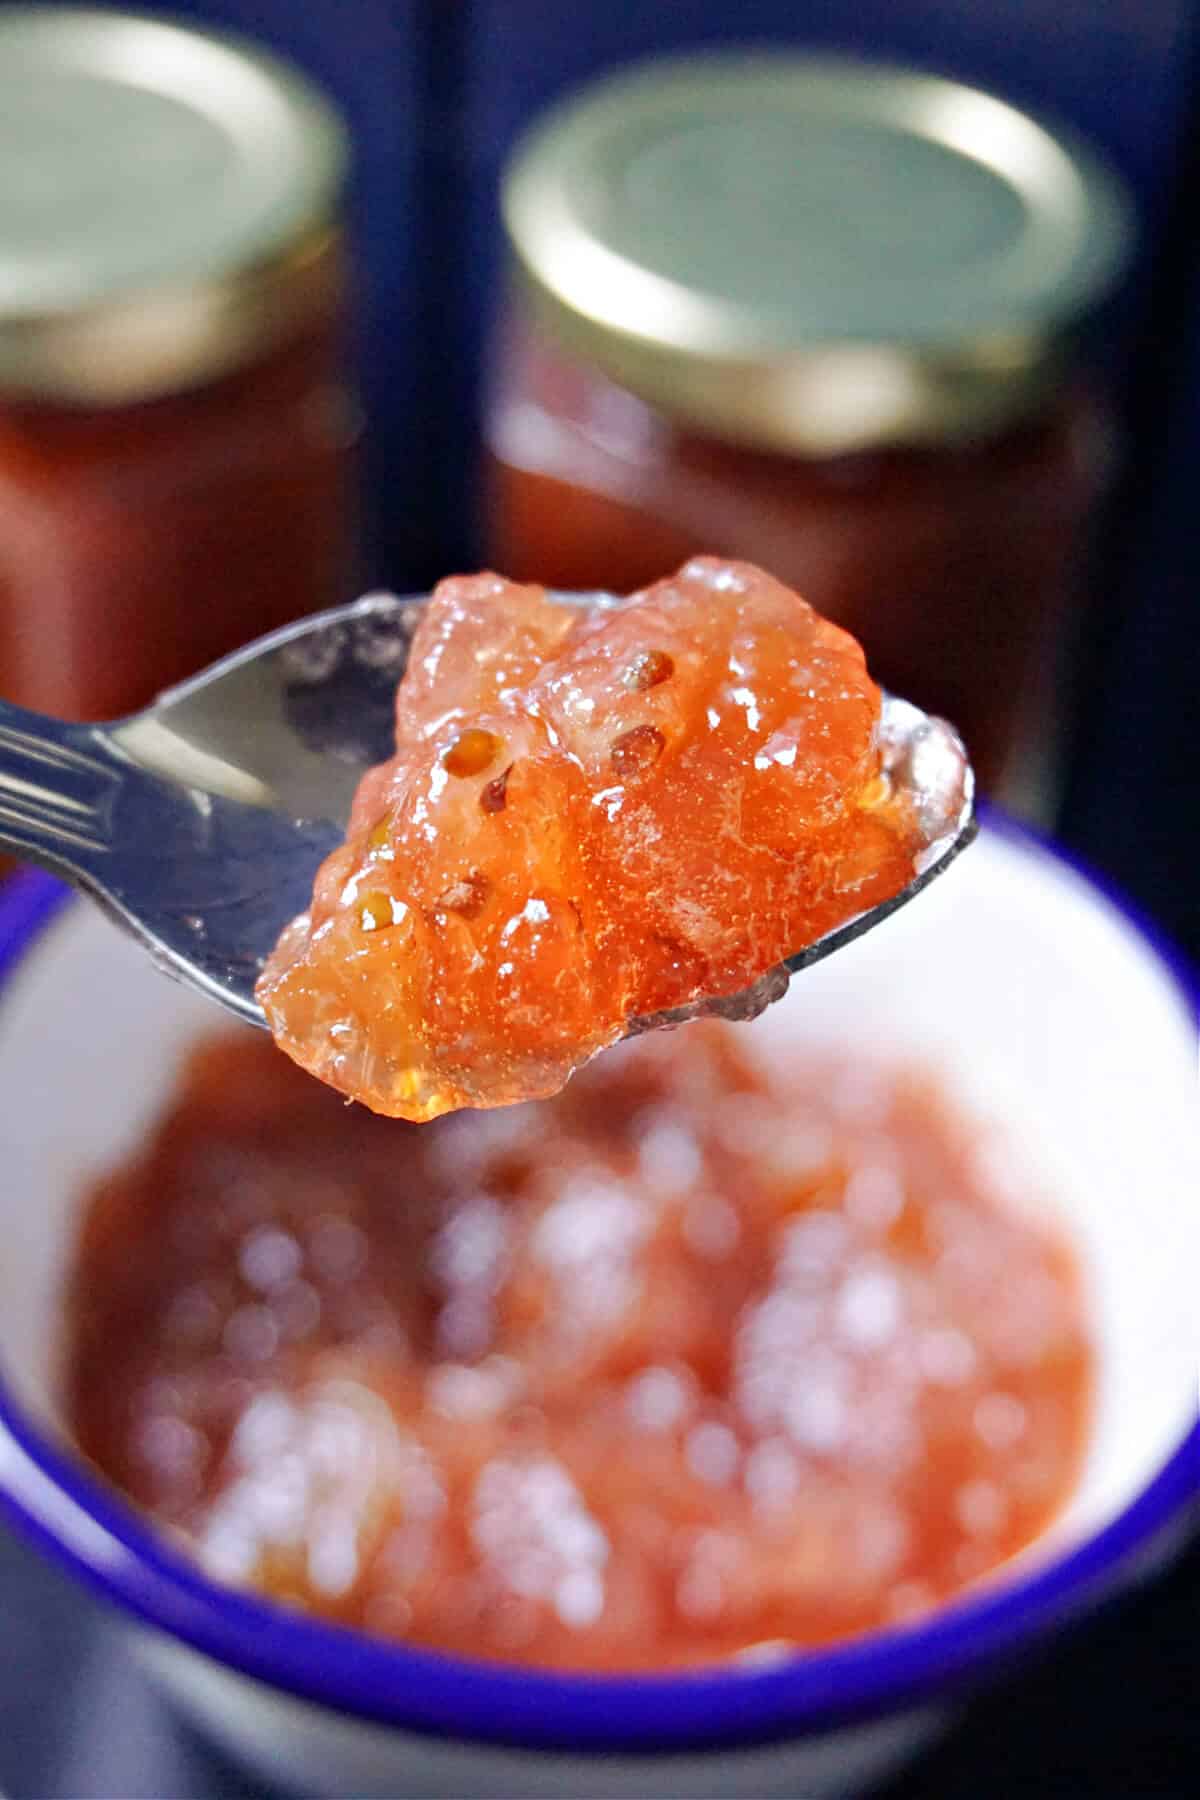
But other than that, it's such a simple process - and pretty much any fruit can be turned into jam. That's really amazing about gooseberry jam is that it changes colour from a light bright green to a warm pink hue when the jam is ready.
Green gooseberries are pretty sour and tart, so you can't really eat them as it is, but that's what makes them great in a jam, as you get the sweet and tart flavour that is simply hard to resist.
Jump to:
Ingredients needed
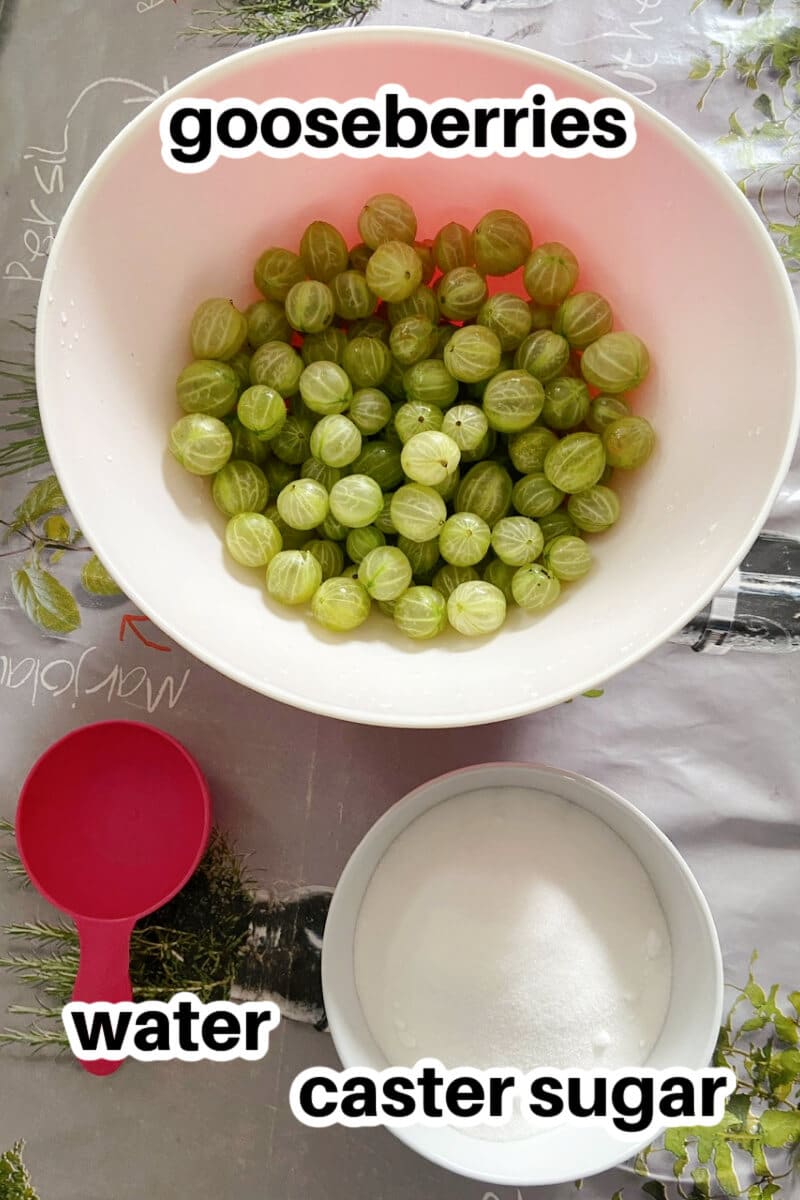
- gooseberries - from 700 g I ended up with 3 small jam jars
- sugar - I used caster sugar, but granulated sugar is also ok
- water - to make a syrup
Step-by-step photos and instructions
- in a pan set over a medium heat, add the water and sugar, give it a good stir, and leave it to simmer until the sugar has dissolved
- remove the top and tails from the gooseberries, rinse them under cold water, and add them to the pan ( see photo 2)
- leave them to simmer until the liquid is reduced, but there is still some left in the pan
- to sterilise the jars, preheat the oven to 200 degrees Celsius (390 Fahrenheit)
- wash and dry the jars and lid, and arrange them onto a baking tray
- pop them into the hot oven for 10 minutes
- carefully remove them from the oven using oven gloves, and distribute the hot jam evenly between the jars
- tighten the lid s very well, then place the jars upside down until the jam is completely cool - that seals the lids perfectly, preserving the jam for long

Would you like to save this?
Expert tips
If you are planning to use the jam either on the day once it cooled down or in a few days, there is no need to sterilise the jars, just transfer the jam to an airtight container, and refrigerate until ready to use.
Other than that, it is crucial to store the jam well, otherwise it will spoil. Well-preserved jam can last for years - I still have some jars from 2 years ago and the jam is still in perfect condition.
Most recipes call for equal amount of fruit to sugar, but I find that way too sweet - I much prefer tasting the fruit as well, rather than just sugar. My recipe uses half of the amount of sugar recommended, and it's just perfect to me,
By all means, if you like a sweeter jam, you can increase the amount of sugar used, that's absolutely up to one's taste.
What to use gooseberry jam for
For an indulgent breakfast, there is nothing tastier than a nice piece of toast with butter and jam on it, and of course, served with a nice cuppa or coffee.
But if you want to use it in baking, the sky is the limit here: from cakes like Victoria Sponge or Victoria Sponge Cupcakes, to tarts like Jam Tarts , cookies like Shortbread Thumbprint Cookies or classic fruit scones served with cream and jam.
Other jam recipes
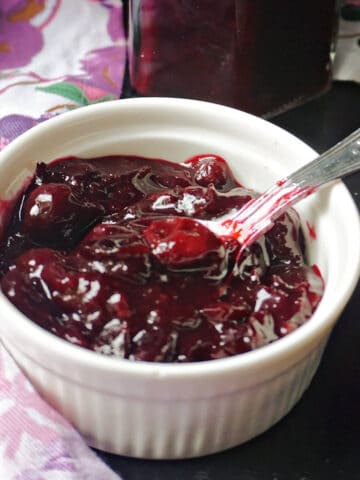
- Damson Jam1 Hours 10 Minutes
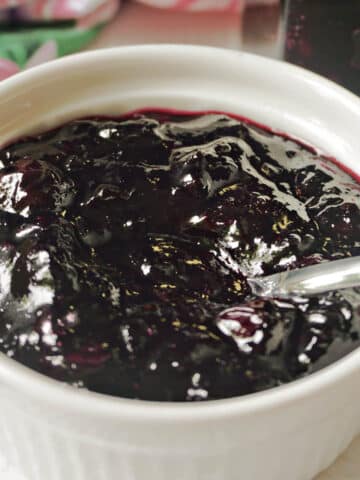
- Old-Fashioned Wild Blackberry Jam2 Hours 5 Minutes
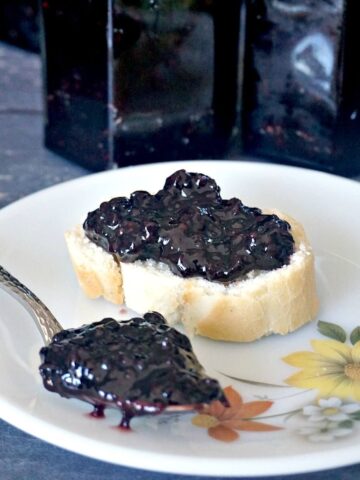
- Blueberry Jam45 Minutes
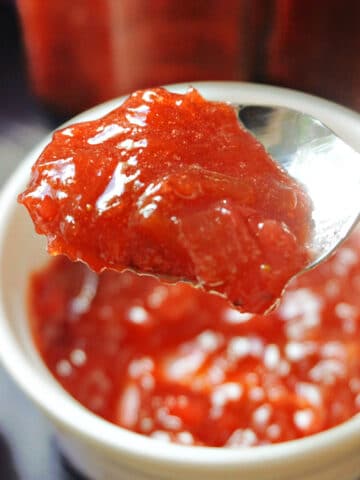
- Strawberry Rhubarb Jam3 Hours
If you’ve liked this recipe or any other recipe on the blog then don’t forget to rate the recipe and let me know how you got on in the comments below, I love hearing from you! You can also FOLLOW ME on FACEBOOK, INSTAGRAM , YOUTUBE, TIK TOK , FLIPBOARD and PINTEREST to see more delicious food and what I’m getting up to.
Gooseberry Jam
Would you like to save this?
Instructions
- Top and tail the gooseberries and rinse them under cold water.
- Add the water and sugar to a pan set over a medium heat.
- Give it a good stir, and leave it to simmer until the sugar has dissolved.
- Add the gooseberries, and leave everything to simmer until the gooseberries change colour from green to a warm pinky hue, and the liquid is reduced.
- The jam will have a more jelly-like texture, and won't drip easily off the back of a spoon.
- To sterilise the jars, preheat the oven to 200 degrees Celsius (390 Fahrenheit).
- Wash and dry the jars and lids, and transfer them to a baking tray.
- Pop them into the hot oven for 10 minutes, then carefully remove them using oven gloves.
- Pour the hot jams into the jars, tighten the lids, and place the jars upside down until cool for the lids to seal completely.
Video
Notes
- If you are planning to use the jam either on the day once it cooled down or in a few days, there is no need to sterilise the jars, just transfer the jam to an airtight container, and refrigerate until ready to use.
- Other than that, it is crucial to store the jam well, otherwise it will spoil. Well-preserved jam can last for years - I still have some jars from 2 years ago and the jam is still in perfect condition.
- Most recipes call for equal amount of fruit to sugar, but I find that way too sweet - I much prefer tasting the fruit as well, rather than just sugar. My recipe uses half of the amount of sugar recommended, and it's just perfect to me,
- By all means, if you like a sweeter jam, you can increase the amount of sugar used, that's absolutely up to one's taste.


Leave a Reply