

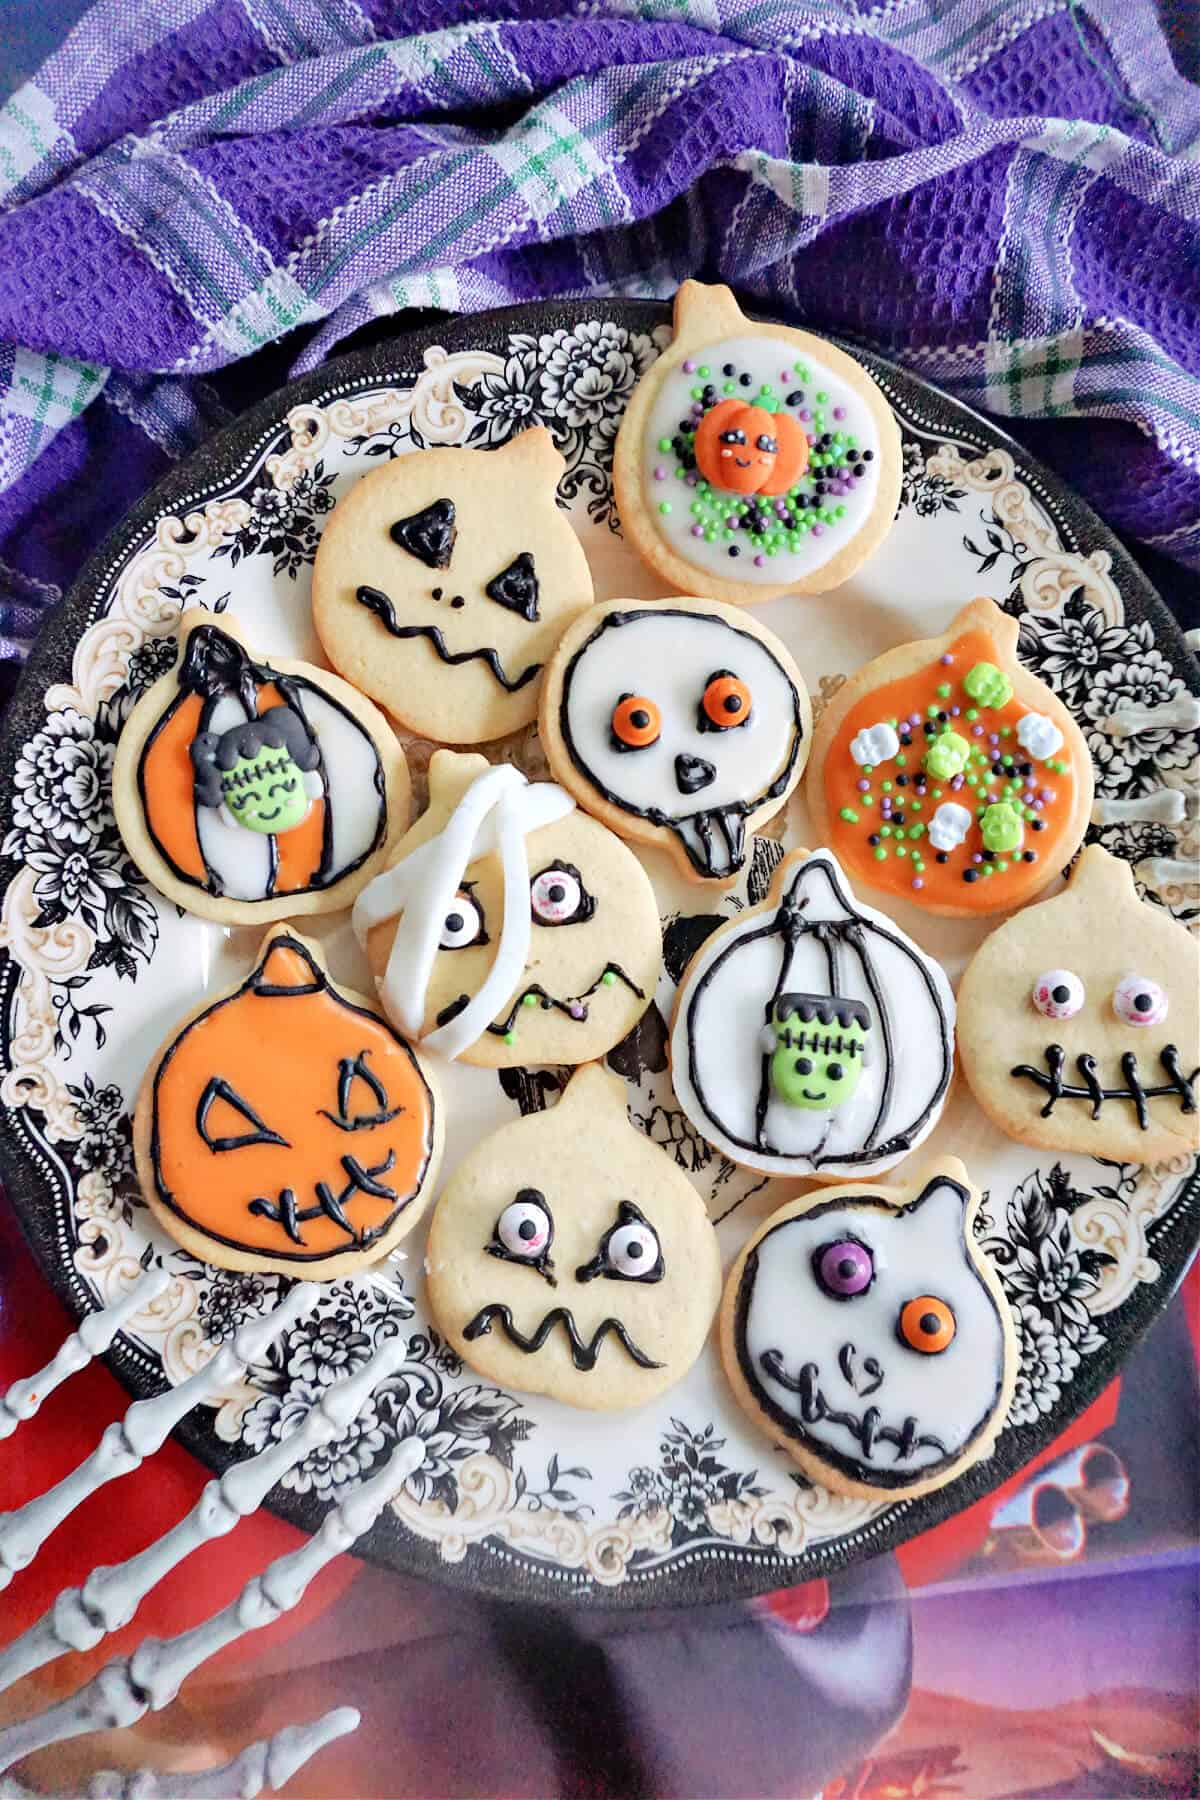
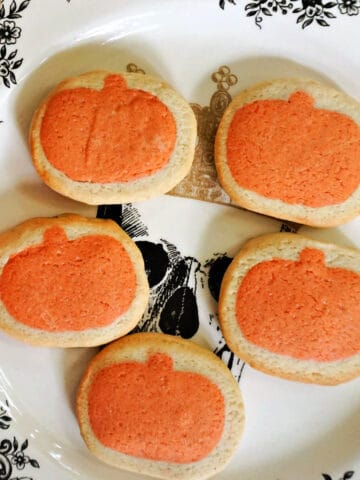
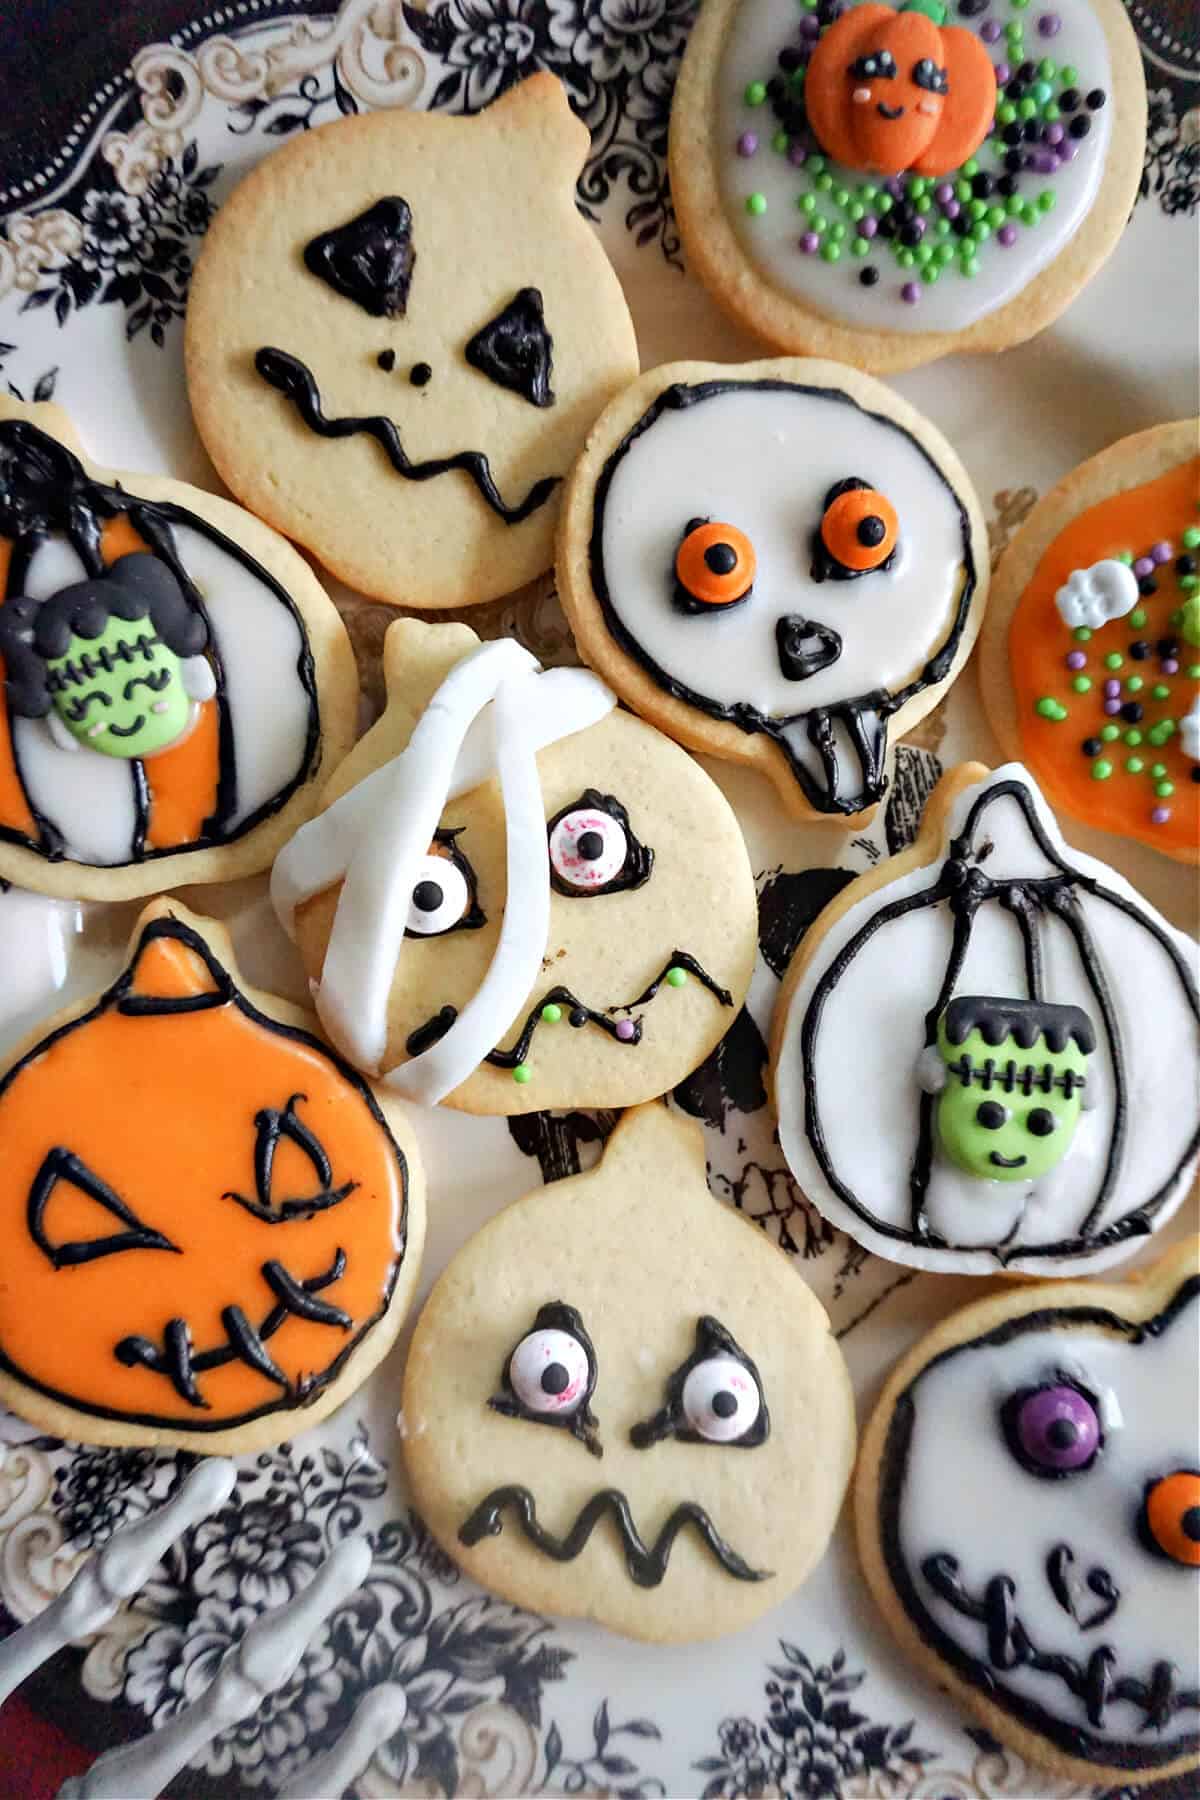
Halloween Sugar Cookies, cut out in the shape of a pumpkin, then decorated with a homemade icing, Halloween sprinkles and edible scary eyes, food colouring for various designs and choco writer, some spooky baked goodies for your Halloween party. They are fun to bake, easily customisable and so delicious!
With Halloween knocking at the door, my absolute favourite way to get into the spooky atmosphere is by baking wickedly fun goodies and carving pumpkins. I have a whole category of Halloween recipes on my blog, some creepy-cute, others more autumnal, but still trick-or-treat worthy.
The sugar cookie dough is my go-to when I want to bake cookies that hold their shape so they can be customised according to any celebration. I have used a variation of this dough for my blood splatter cookies, Halloween stamped sugar cookies and slice and bake pumpkin cookies too.
It's literally the easiest dough you can possibly make, with only 5 simple ingredients that you may already have around, and it's literally failproof too! And you can easily double or triple the amount of ingredients needed if you have a large party to cater for.
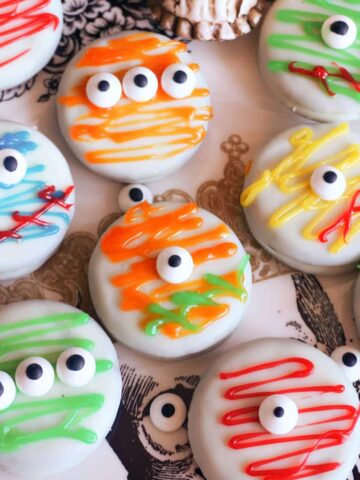
For decorating the cookies, I used a mixture of homemade icing, made with icing sugar and milk as a base, to which I added some orange food colouring, sprinkles, edible eyes, sugar decorations and choco writer.
These designs are only an idea, you can obviously go as creative as you like, or as simple as you like, there is no right or wrong here. Pumpkins, skeletons, Jack-o'Lanterns, anything goes.
Jump to:
Would you like to save this?
Note!
Go to the recipe card at the bottom of the post for exact quantities and detailed instructions!
Ingredients overview
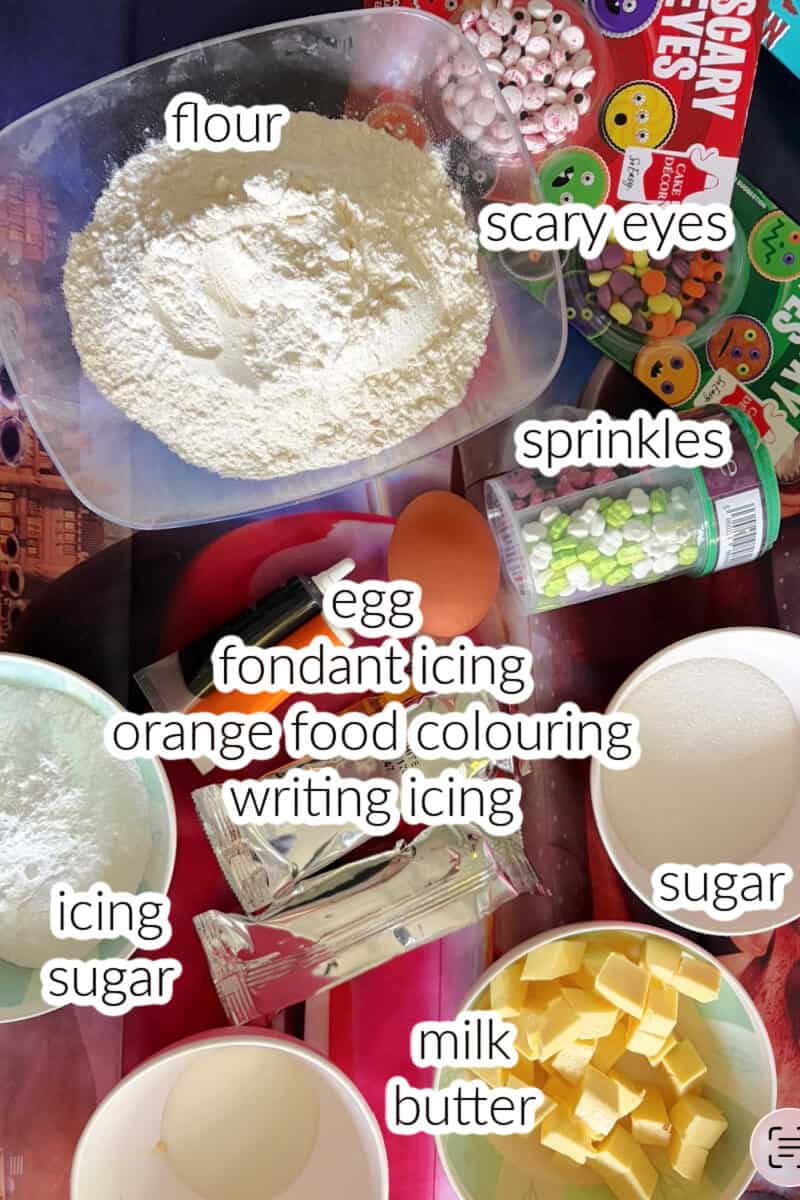
- flour - I used plain or all purpose flour, we don't need any raising agents for these cookies
- egg - I used a medium-sized egg
- butter - soften, but not melted
- vanilla extract - or any other extract of your choice, I highly recommend using extract, otherwise the cookies might be a bit too plain
- sugar - I used granulated sugar, caster sugar also ok
- icing sugar - or confectioners' sugar to make the icing for decorating
- milk - to make the icing, it can be any kind, I used full-fat milk, plant-based also ok
- orange food colouring - you can use any other Halloween -ish colour like purple, green, black
- Halloween sprinkles, googly eyes, choco writer - use whatever you have around
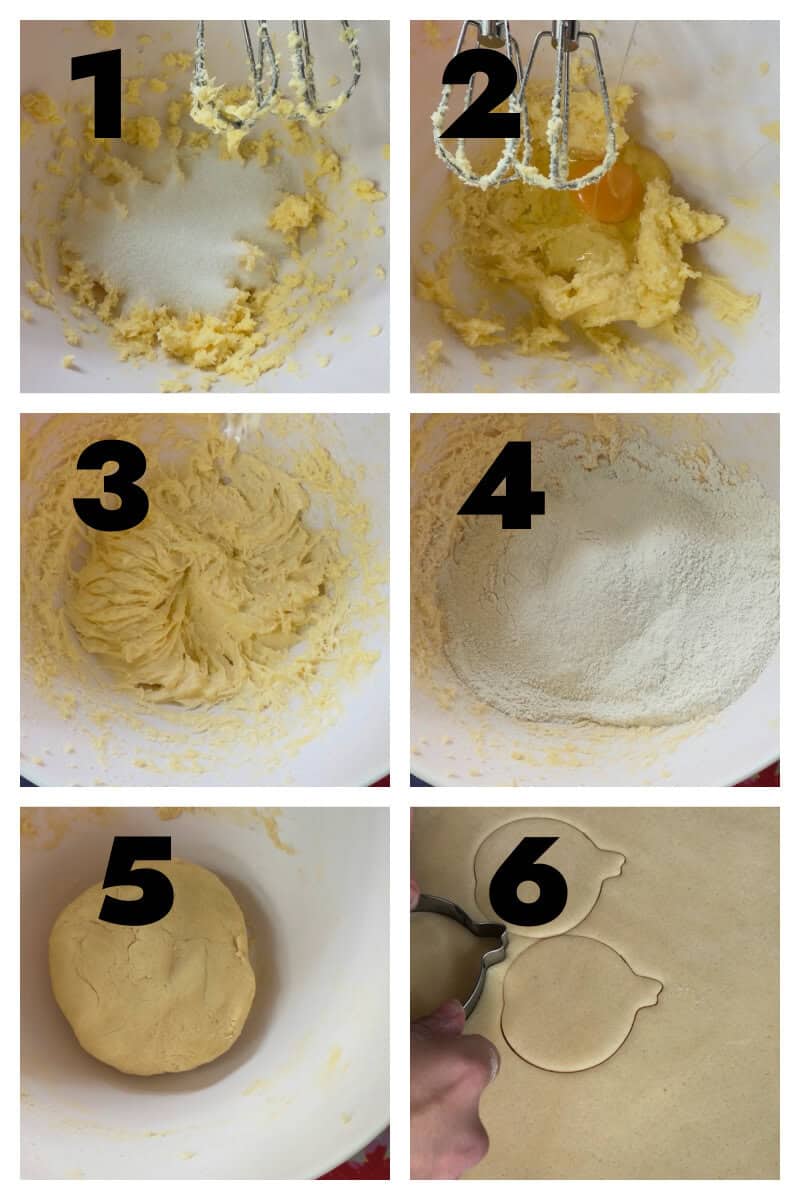
Step-by-step photos and instructions - the dough
- to make the basic sugar cookie dough, add the soften butter and sugar to a large mixing bowl, and use a hand mixer to beat them together until creamy
- add the egg and beat again to get a pale-yellow colour and a smooth texture
- sift in the flour, and the vanilla extract, and knead a dough that doesn't stick to the hands
- cover the dough in clingfilm and refrigerate for 20 minutes
- roll the dough on the work surface, and use a pumpkin-shaped cookie cutter to cut our shapes, I got 23 cookies
- arrange the cookies onto 2 baking trays, and bake in the preheated oven at 180 degrees Celsius (350 Fahrenheit) for 10-13 minutes until slightly golden around the edges
- remove the trays from the oven, and leave the cookies to cool down completely
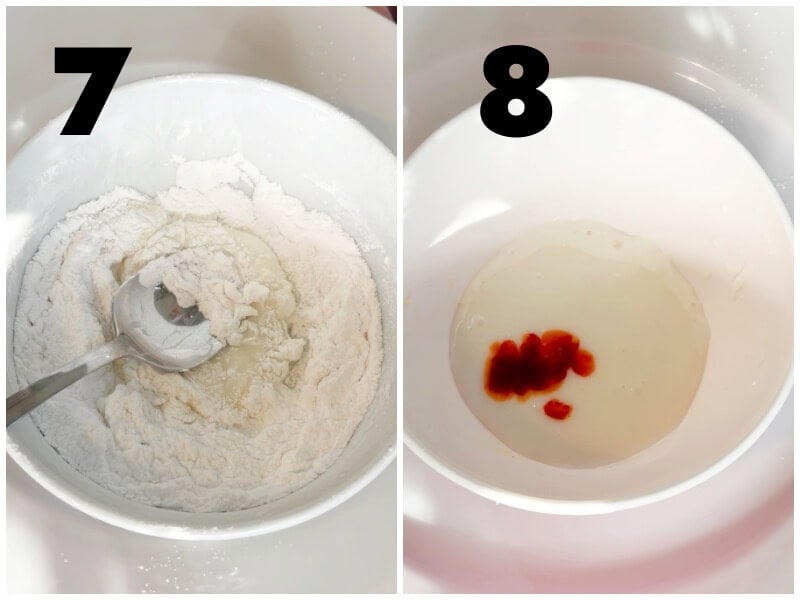
Step-by-step photos and instructions - the icing
- sift the icing sugar in a small bowl, add the milk and use a spoon to mix well until smooth and runny
- divide the icing between 2 bowls, add add orange food colouring to the second bowl
- mix well to get a smooth orange icing
Decorating the sugar cookies for Halloween
It is crucial to allow the cookies to cool down completely before adding any designs to them, or the icing and other decorations will melt and make a real mess.
For a smoother finish, outline the pumpkins with choco writer first, and then spread the icing of your choice, either white and orange, the chocolate will keep the icing from spreading.
Do not worry about making mistakes, it's all about having fun and enjoying delicious cookies. Plus, it's a great activity to get the kids involved in, so everyone gets to have fun!
Expert tips
For more intricate designs, allow the outlines to dry first, before adding multi-coloured details to avoid colour bleeding. The icing sets pretty quickly at room temperature, mine were dry in 20 minutes.
Do not add too much milk, or the icing will be too runny and will not set well, plus it will make a huge mess. We want the icing to be runny enough to spread it onto the cookies, but thick enough to stay within the outlines.
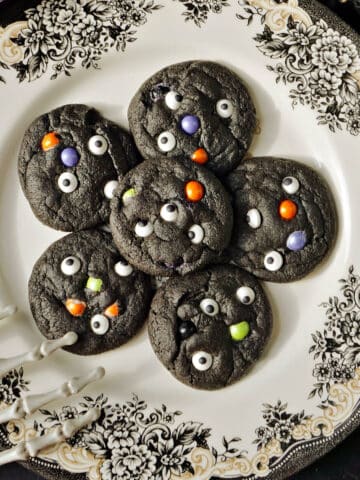
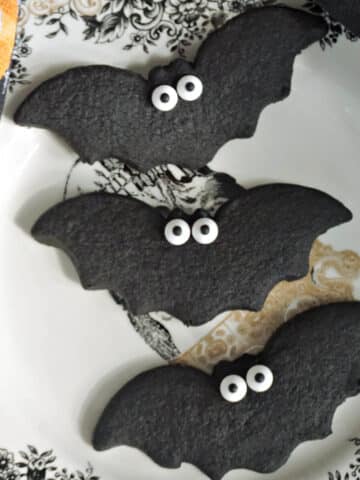
Other Halloween cookies
If you’ve liked this recipe or any other recipe on the blog then don’t forget to rate the recipe and let me know how you got on in the comments below, I love hearing from you! You can also FOLLOW ME on FACEBOOK, INSTAGRAM , YOUTUBE, TIK TOK , FLIPBOARD and PINTEREST to see more delicious food and what I’m getting up to.

Halloween Sugar Cookies
Ingredients
- 250 g plain flour (all-purpose flour, 2 cups)
- 100 g soften butter (0.44 cup, 7 tbsp)
- 100 g granulated sugar (½ cup)
- 1 medium-sized egg
- 1 teaspoon vanilla extract
- 100 g icing sugar (confectioners' sugar, ¾ cup)
- 1 ¼ tablespoon full-fat milk
- ¼ teaspoon orange food colouring
To decorate
- 100 g Halloween sprinkles, googly eyes, sugar decorations (½ cup)
- 1 choco writer ( for outlines)
Would you like to save this?
Instructions
- Add the soften butter and granulated sugar to a large mixing bow, and use a hand mixer to cream them together until smooth and creamy.
- Add the egg, and beat again until creamy in texture.
- Sift in the flour, add the vanilla extract, and knead everything into a smooth dough that does not stick to the hands.
- Cover the dough in clingfilm and refrigerate for 20 minutes.
- Preheat the oven to 180 degrees Celsius (350 Fahrenheit).
- Roll the dough onto the work surface with a rolling pin, and use a pumpkin-shaped cookie cutter to cut out shapes.
- Arrange the cookies onto 2 baking trays lined with non-stick paper, and bake for 10 to 13 minutes until slightly golden around the edges.
- Remove the trays from the oven and allow the cookies to cool down completely.
- To make icing, sift the icing sugar into a bowl, add the milk and use a spoon to mix it into a smooth icing.
- Divide the icing between 2 bowls, one will stay white, the other will have orange food colouring added to it; mix well for a uniform colour.
- Decorate the cookies, then allow the icing to set for at least 20-30 minutes.
Video
Notes
- For more intricate designs, allow the outlines to dry first, before adding multi-coloured details to avoid colour bleeding. The icing sets pretty quickly at room temperature, mine were dry in 20 minutes.
- Do not add too much milk, or the icing will be too runny and will not set well, plus it will make a huge mess. We want the icing to be runny enough to spread it onto the cookies, but thick enough to stay within the outlines.
Leave a Reply